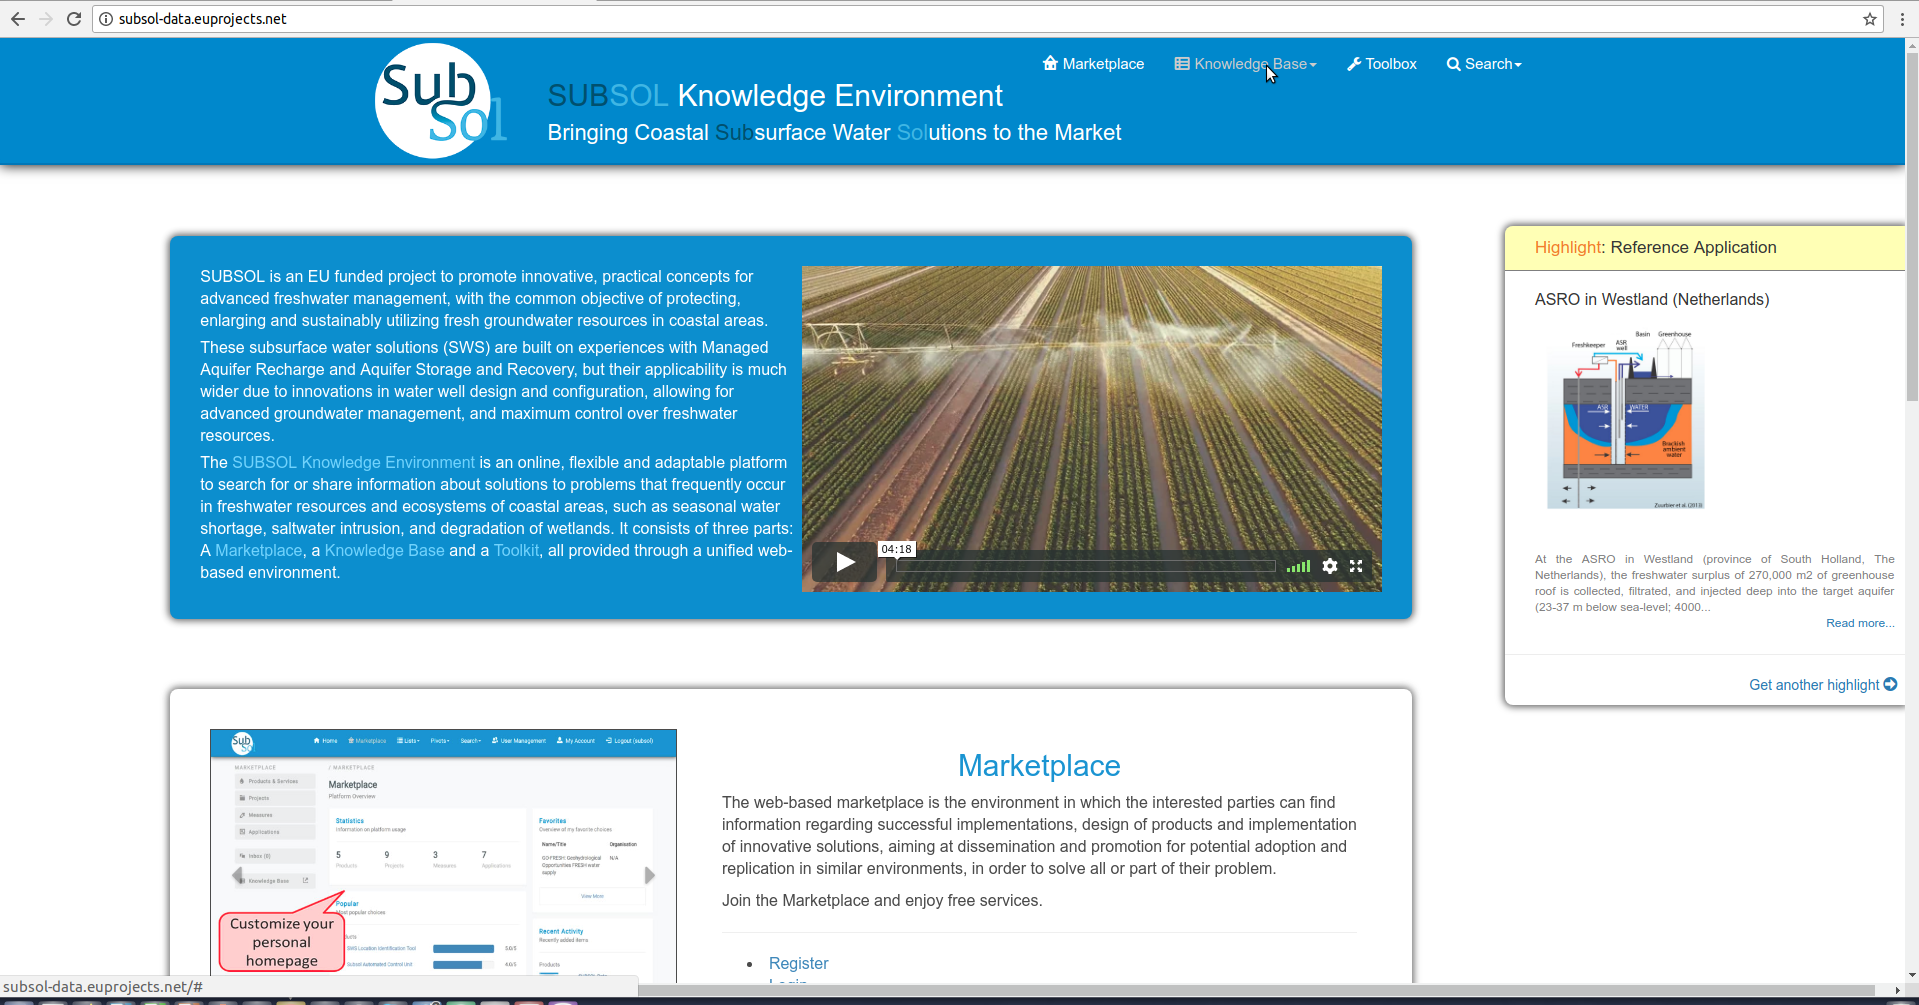
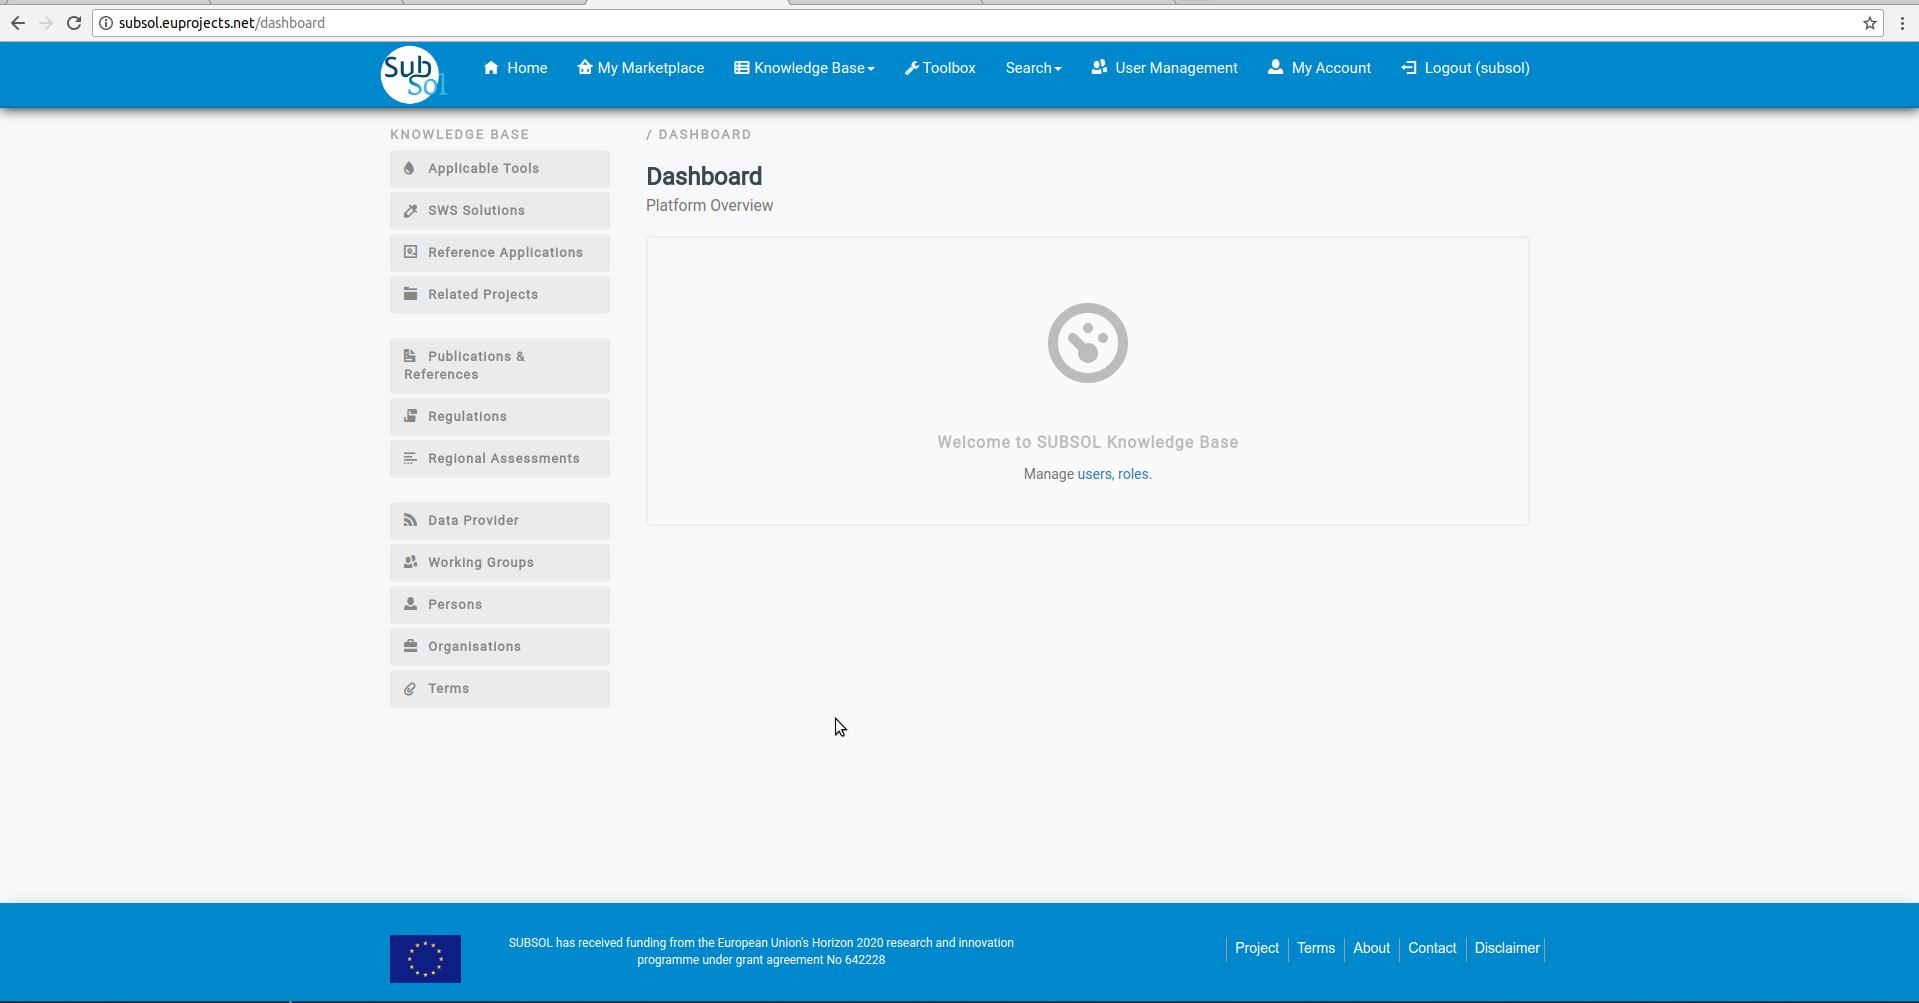
Knowledge Base
Public Services
1. Workflow
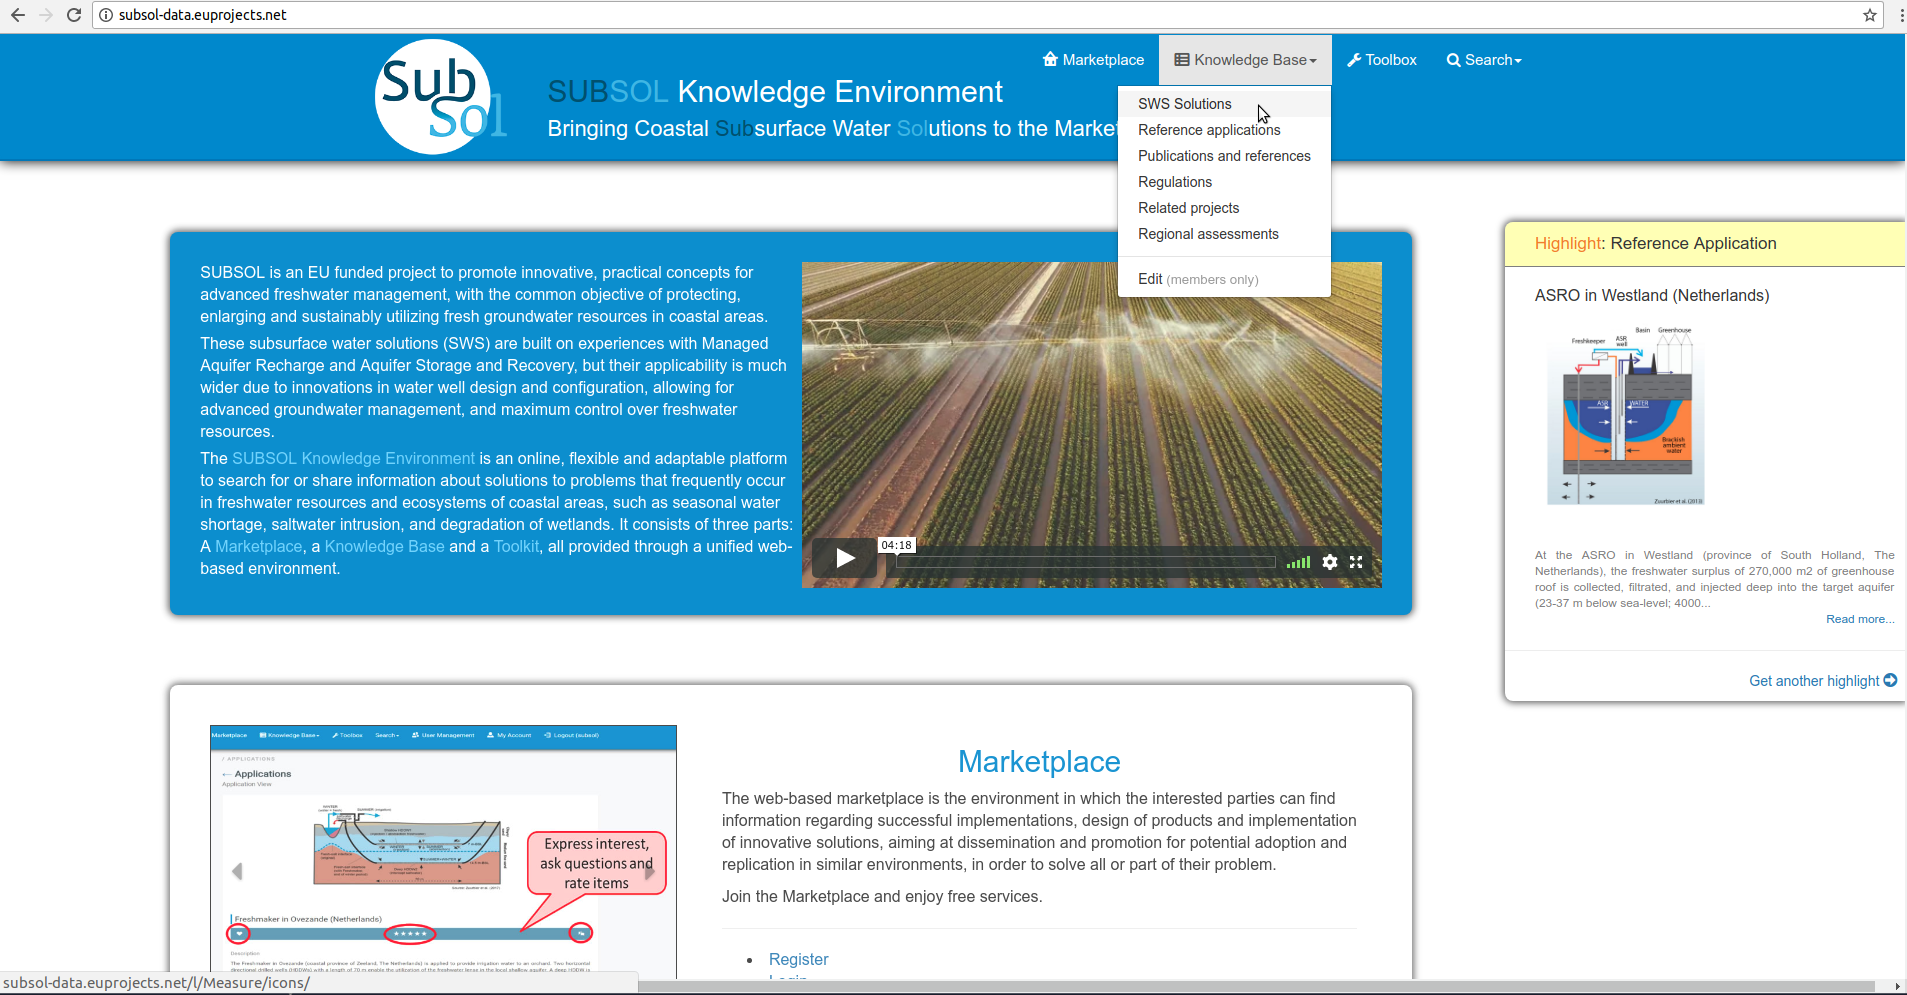
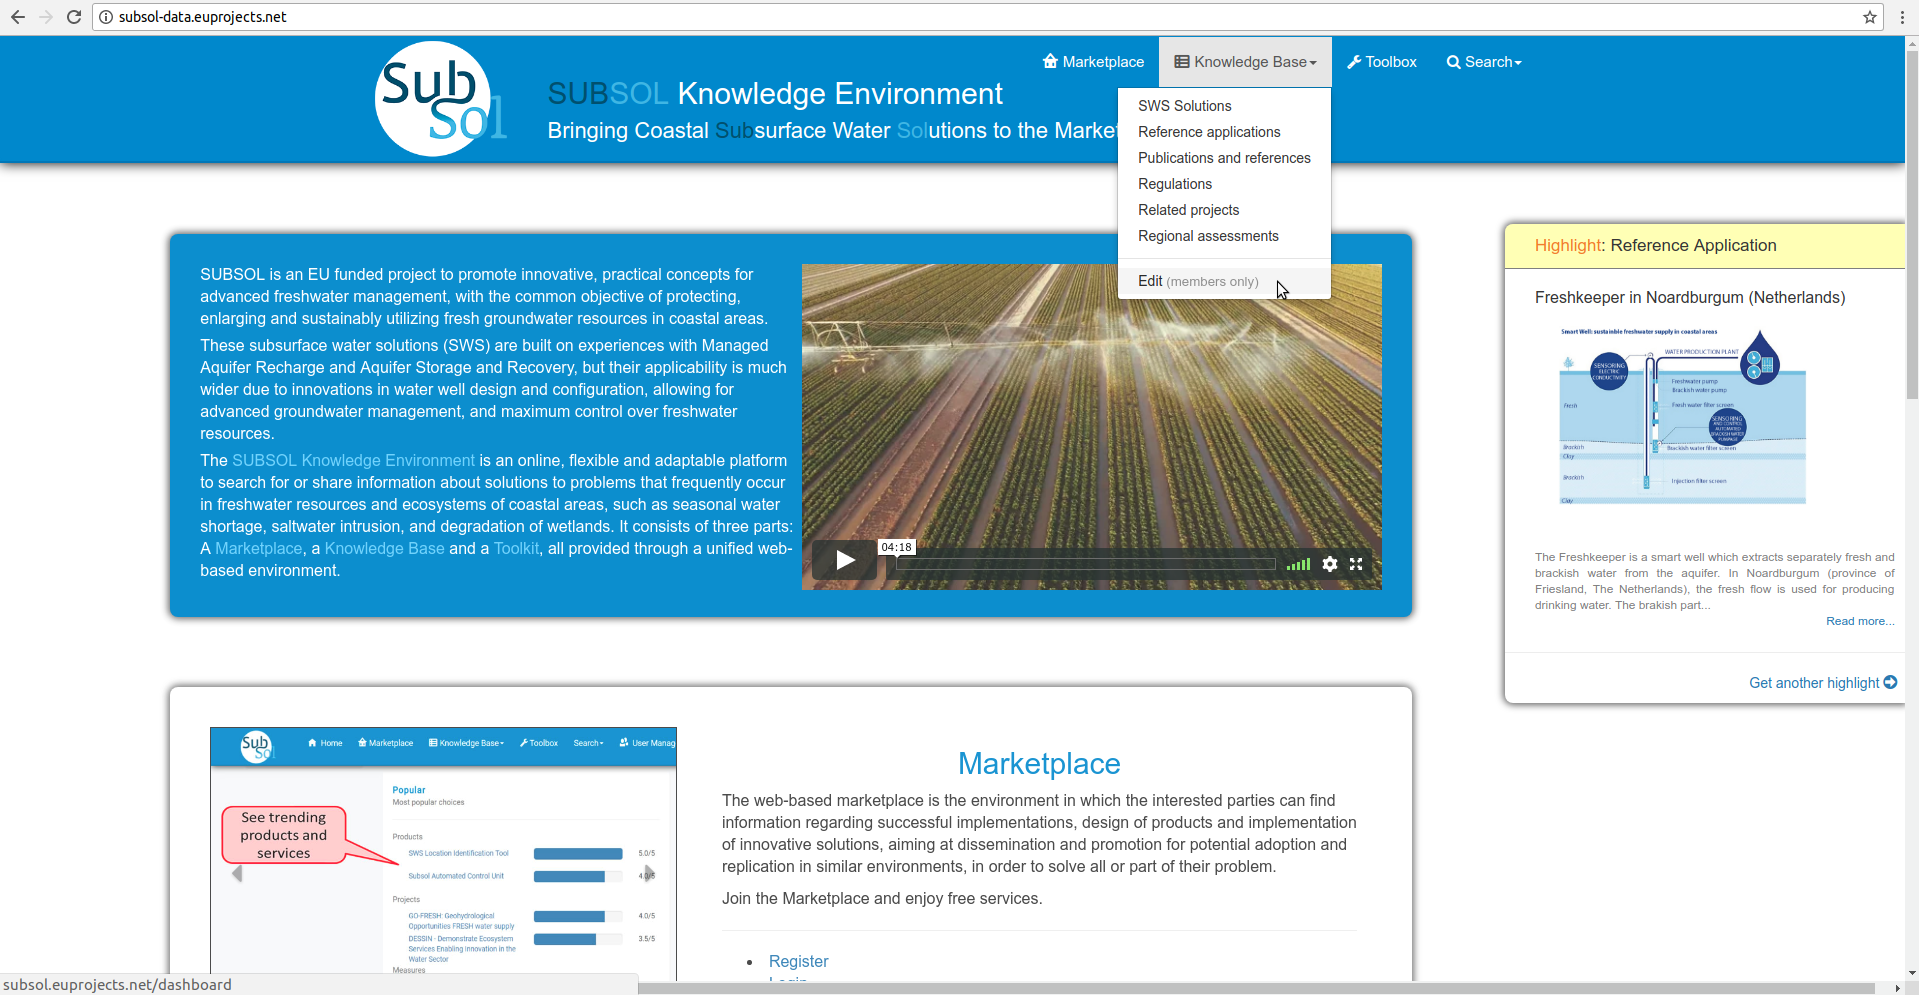
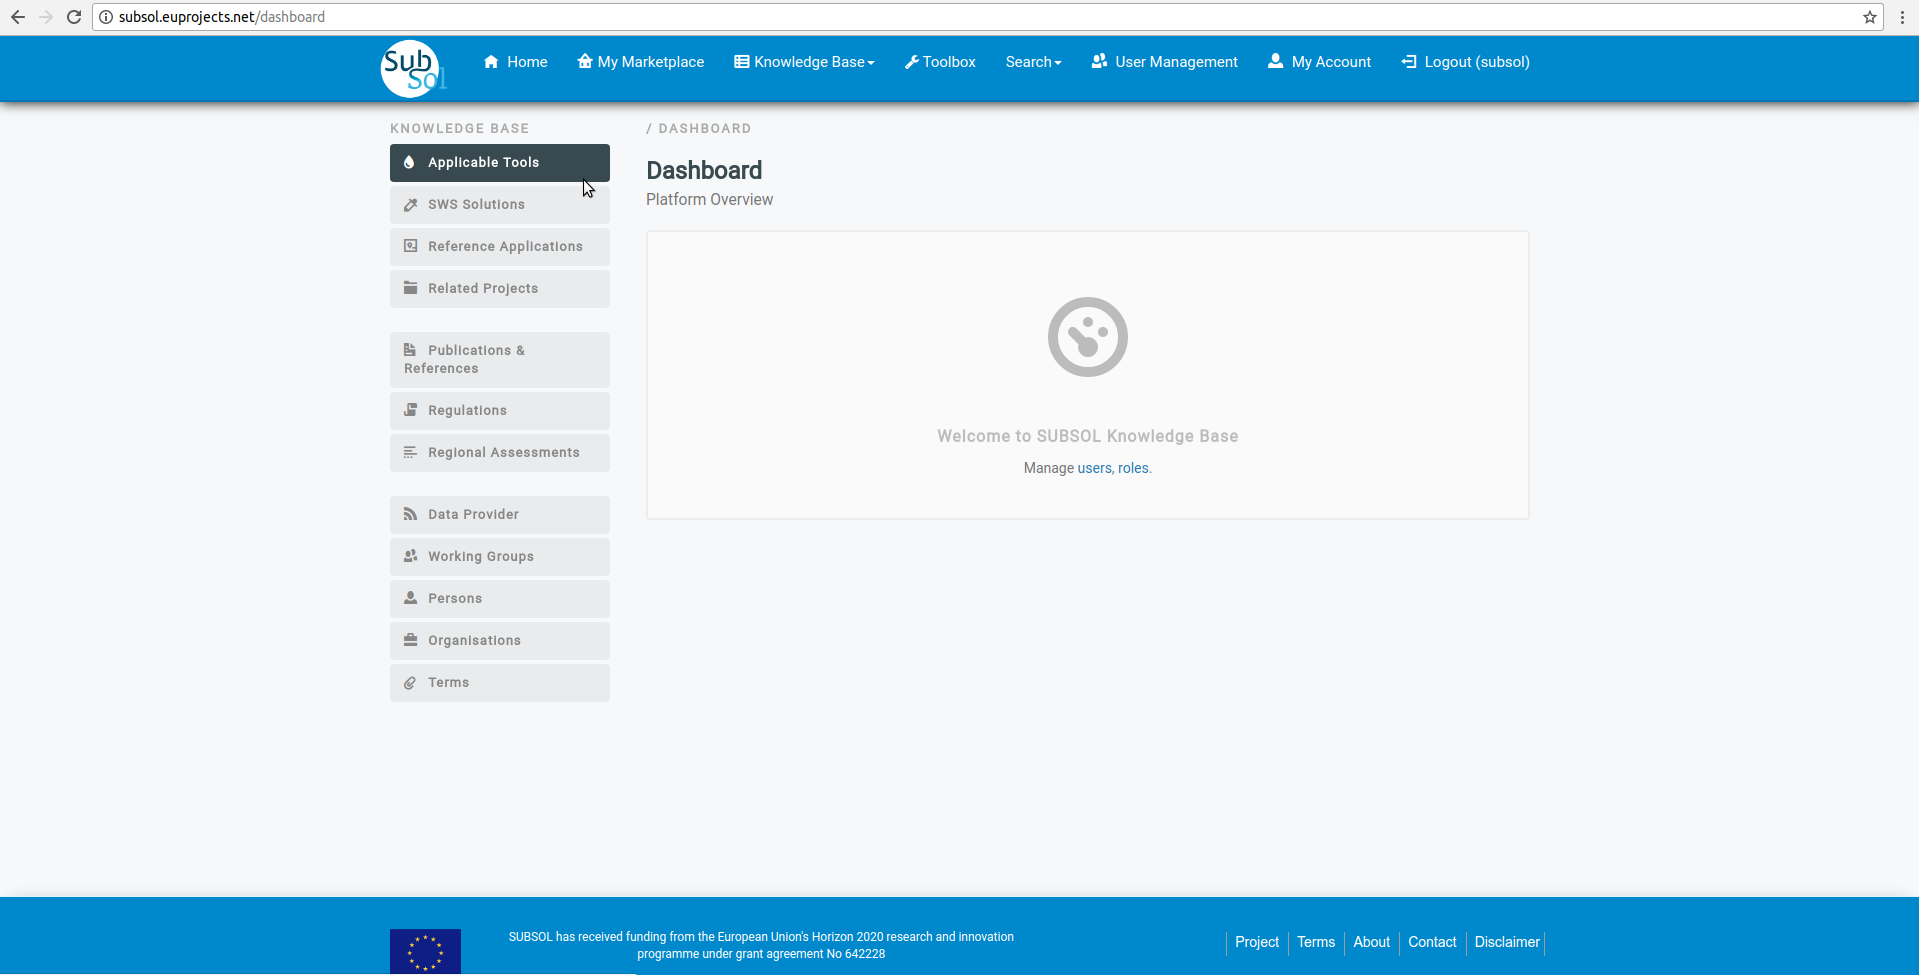
- Click on the “Knowledge Base” drop-down list.
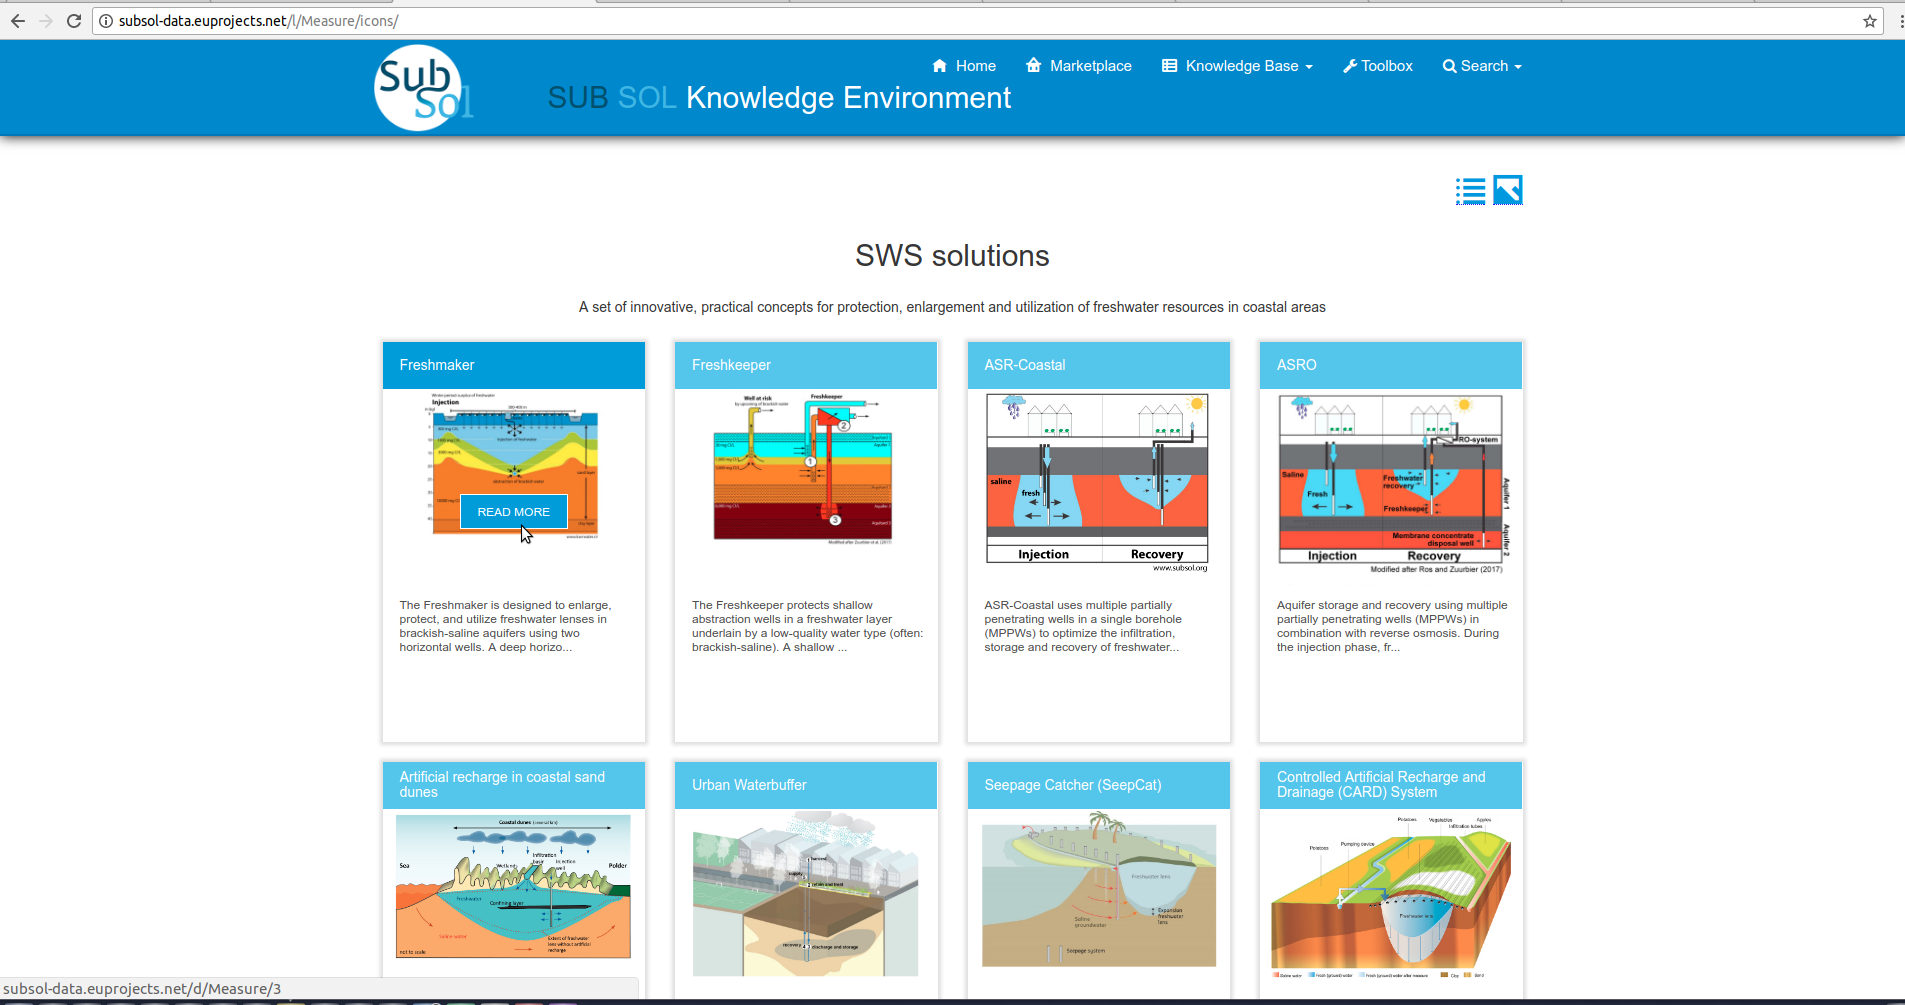
- Select the preferred category from the dropdown list. (In this use case “SWS SOLUTIONS”)
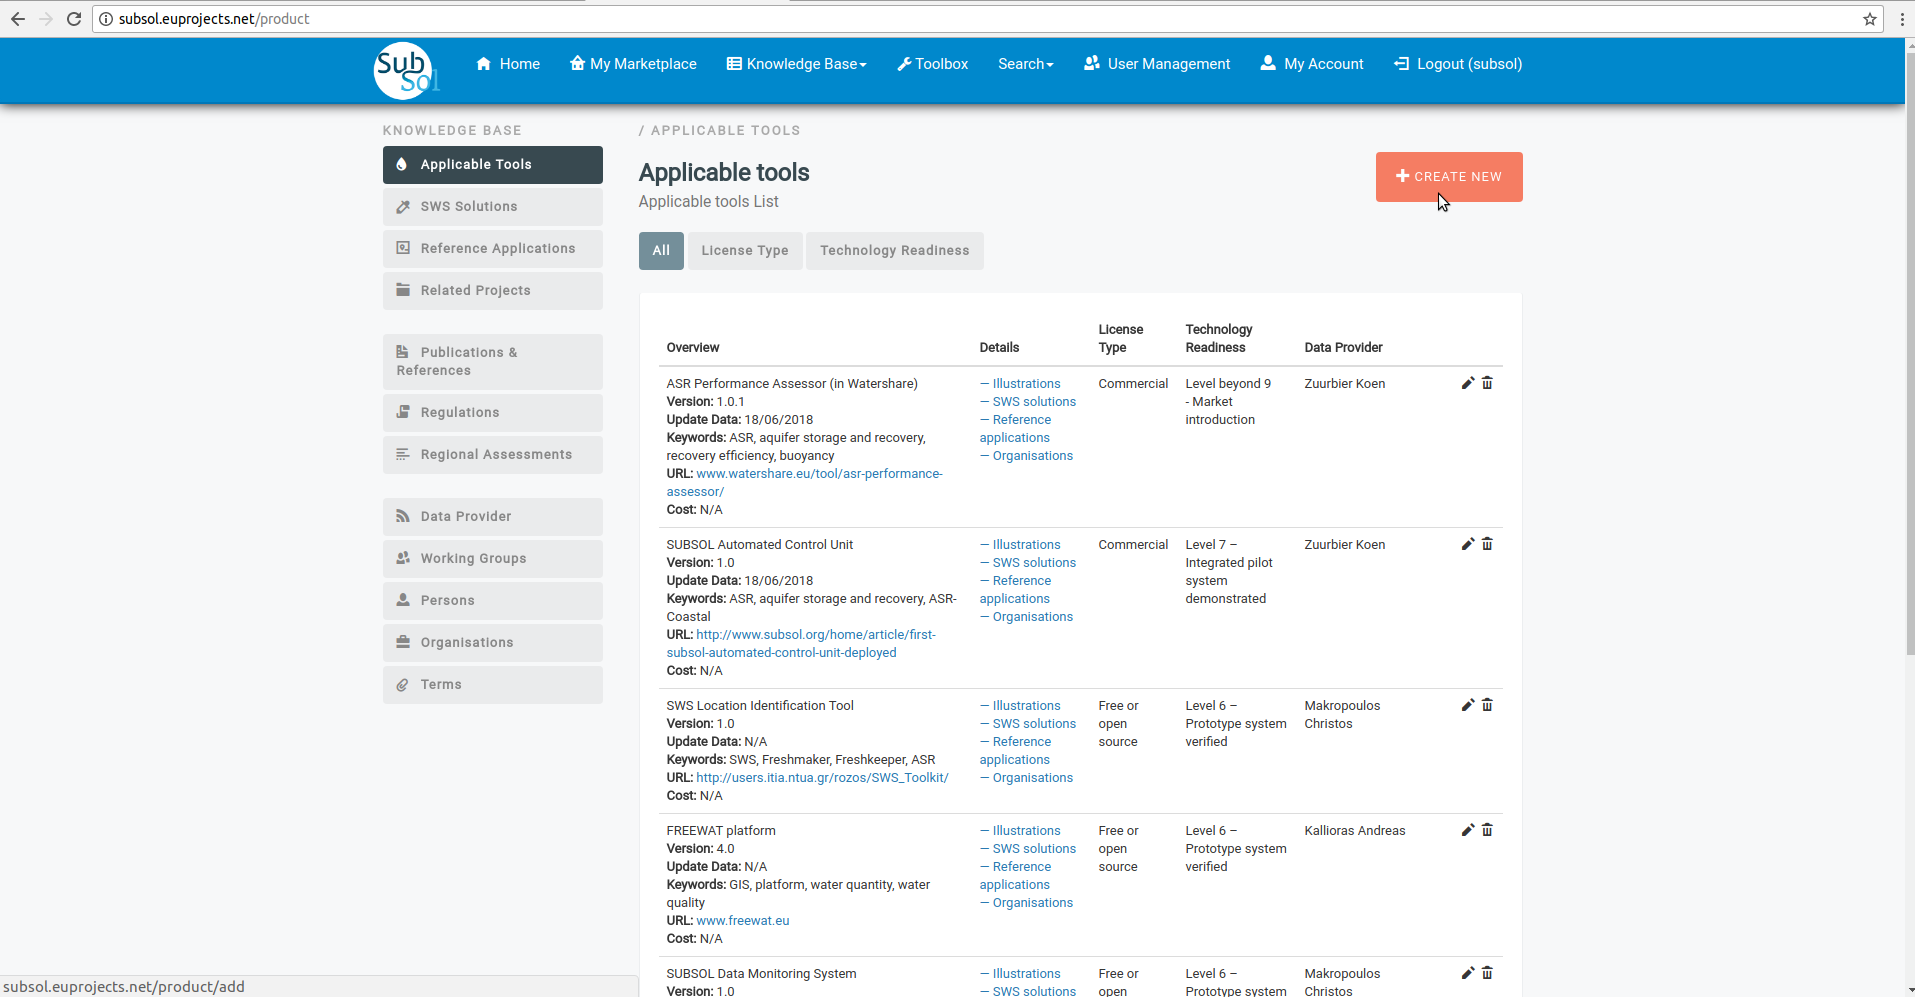
- Select an item to view detailed information.
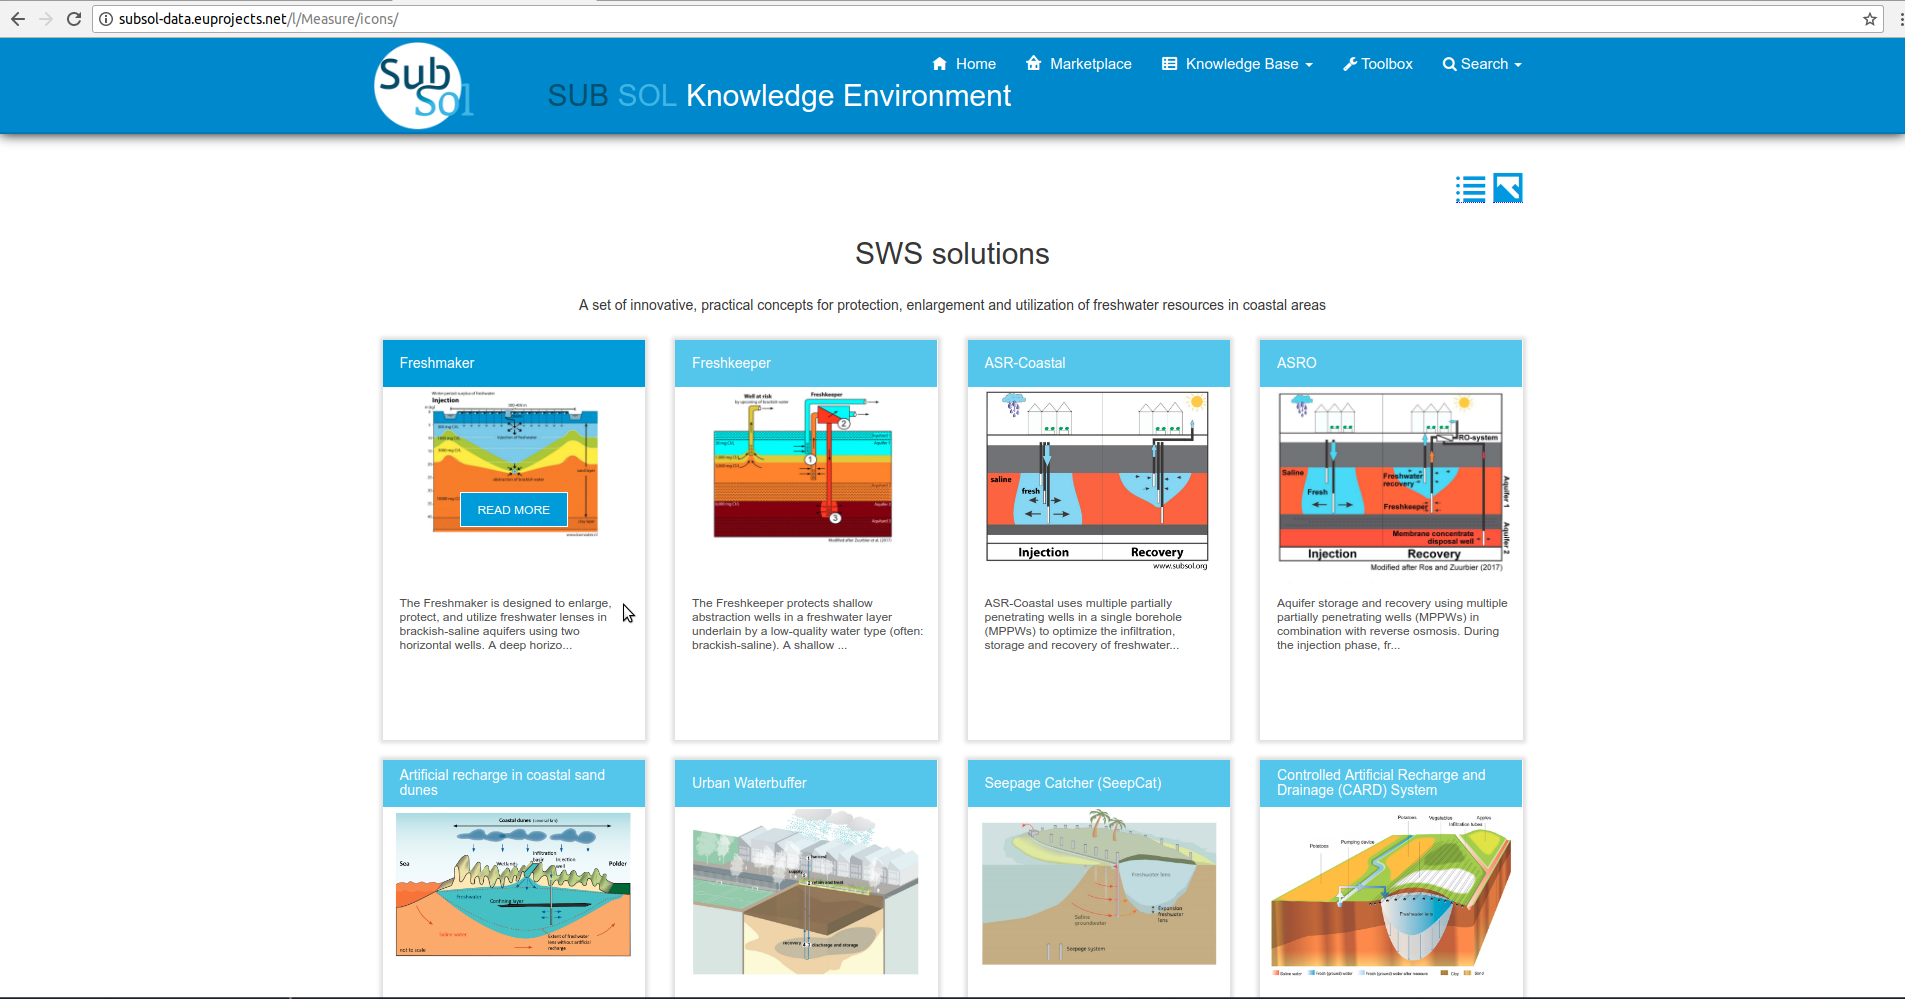
- Click on “Read More” button.
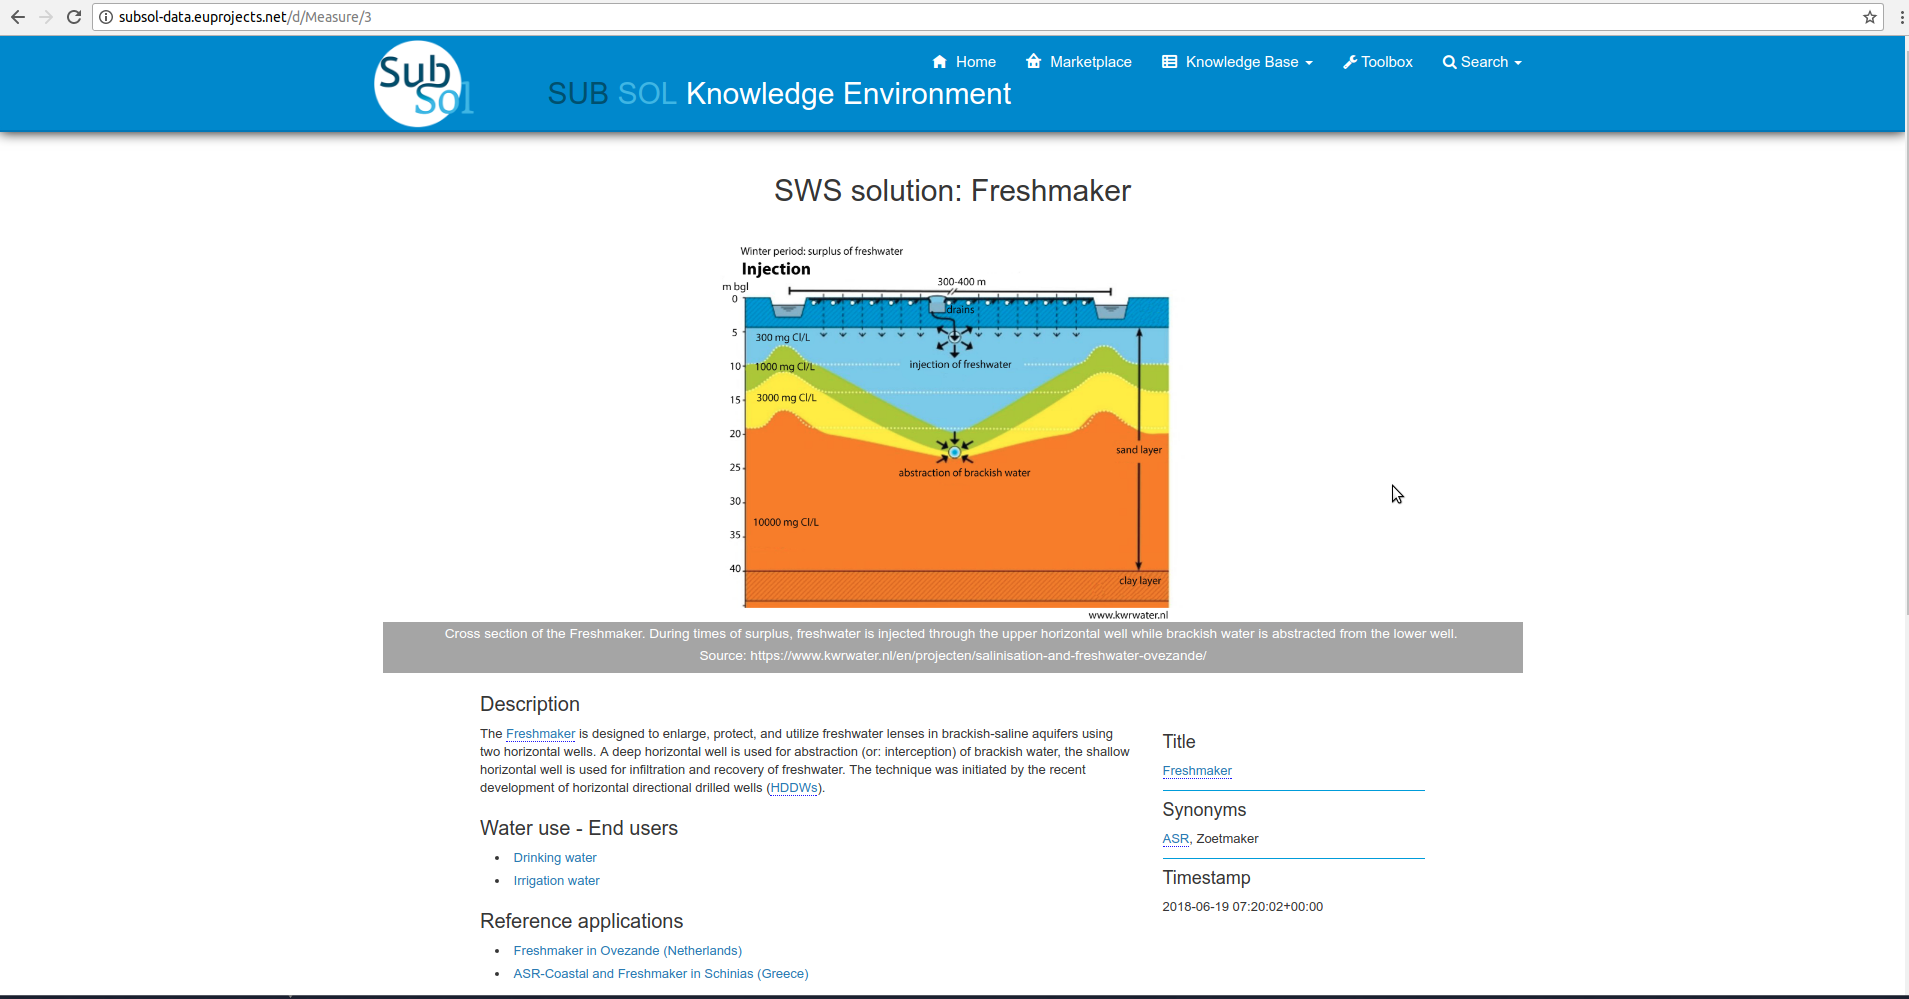
- View full information available for this item.(In this use case “Freshmaker.”)
2. Search
2.1 Advanced search
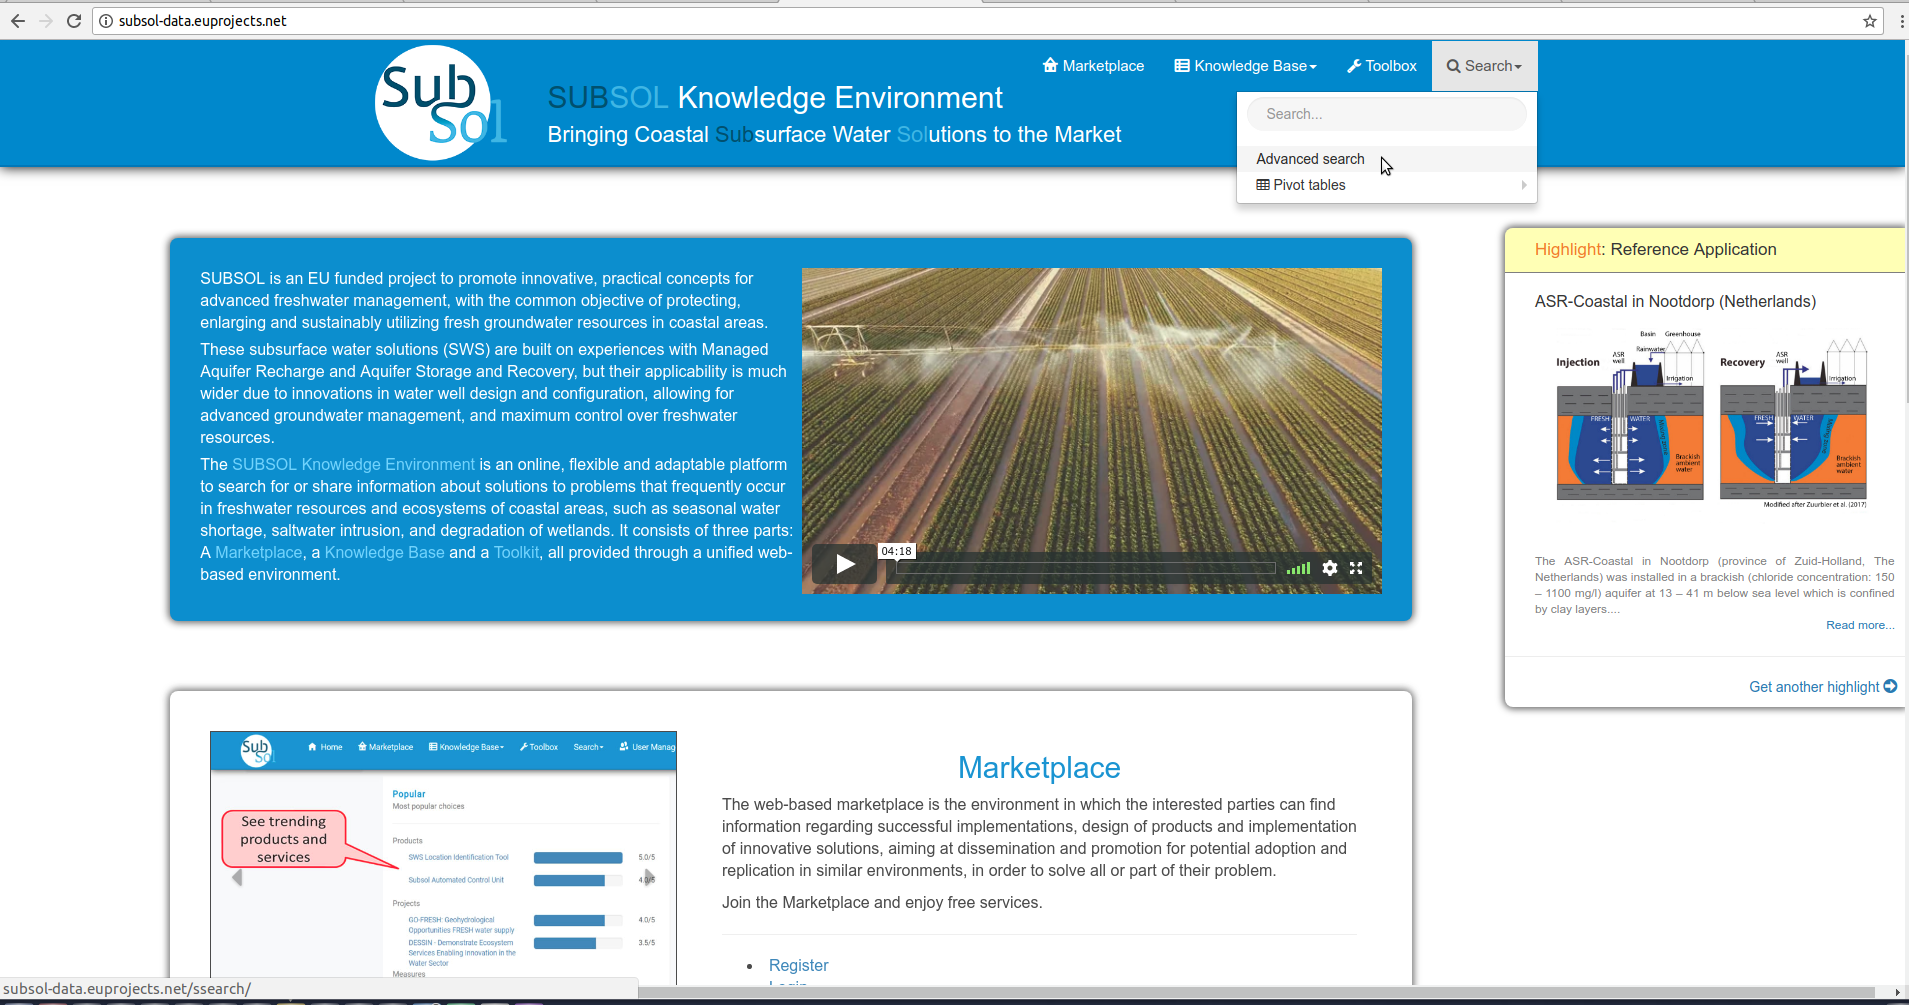
- Click on “Search” button.
- Select the “Advanced Search” opton from dropdown list.
- Select a data category to search.
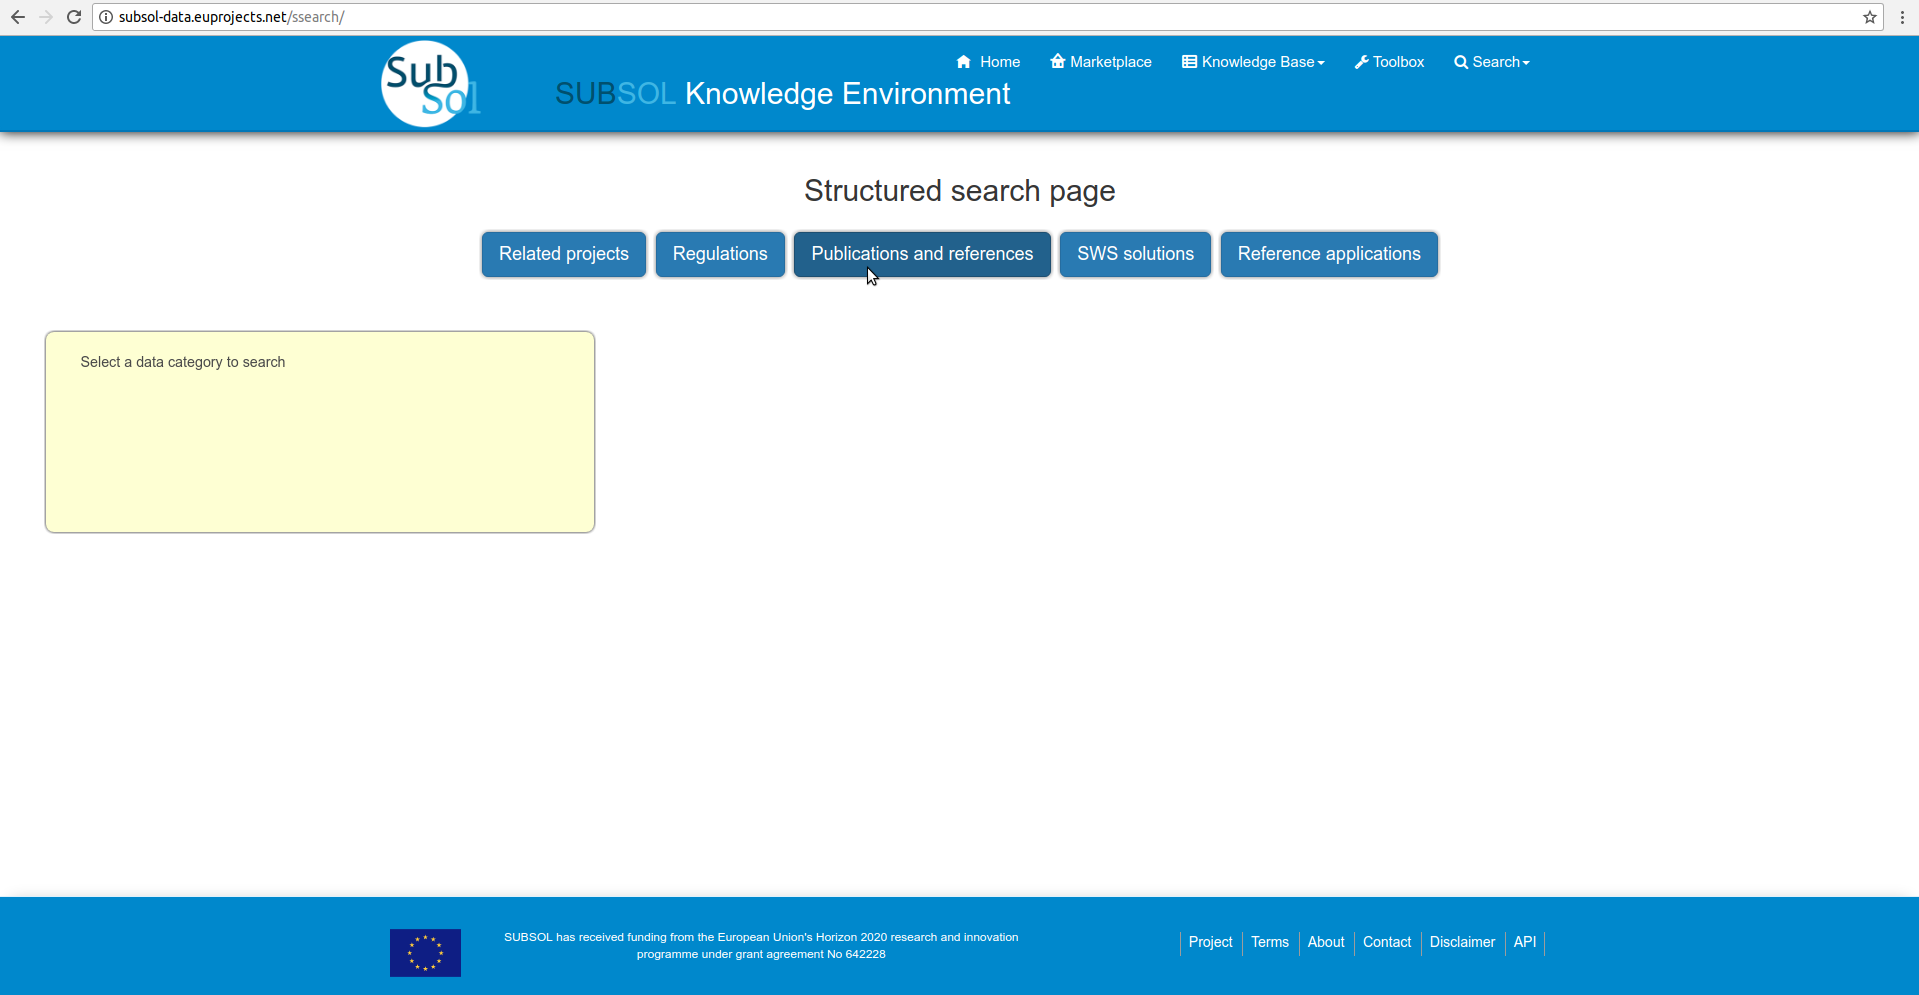
- Provide Search criteria.
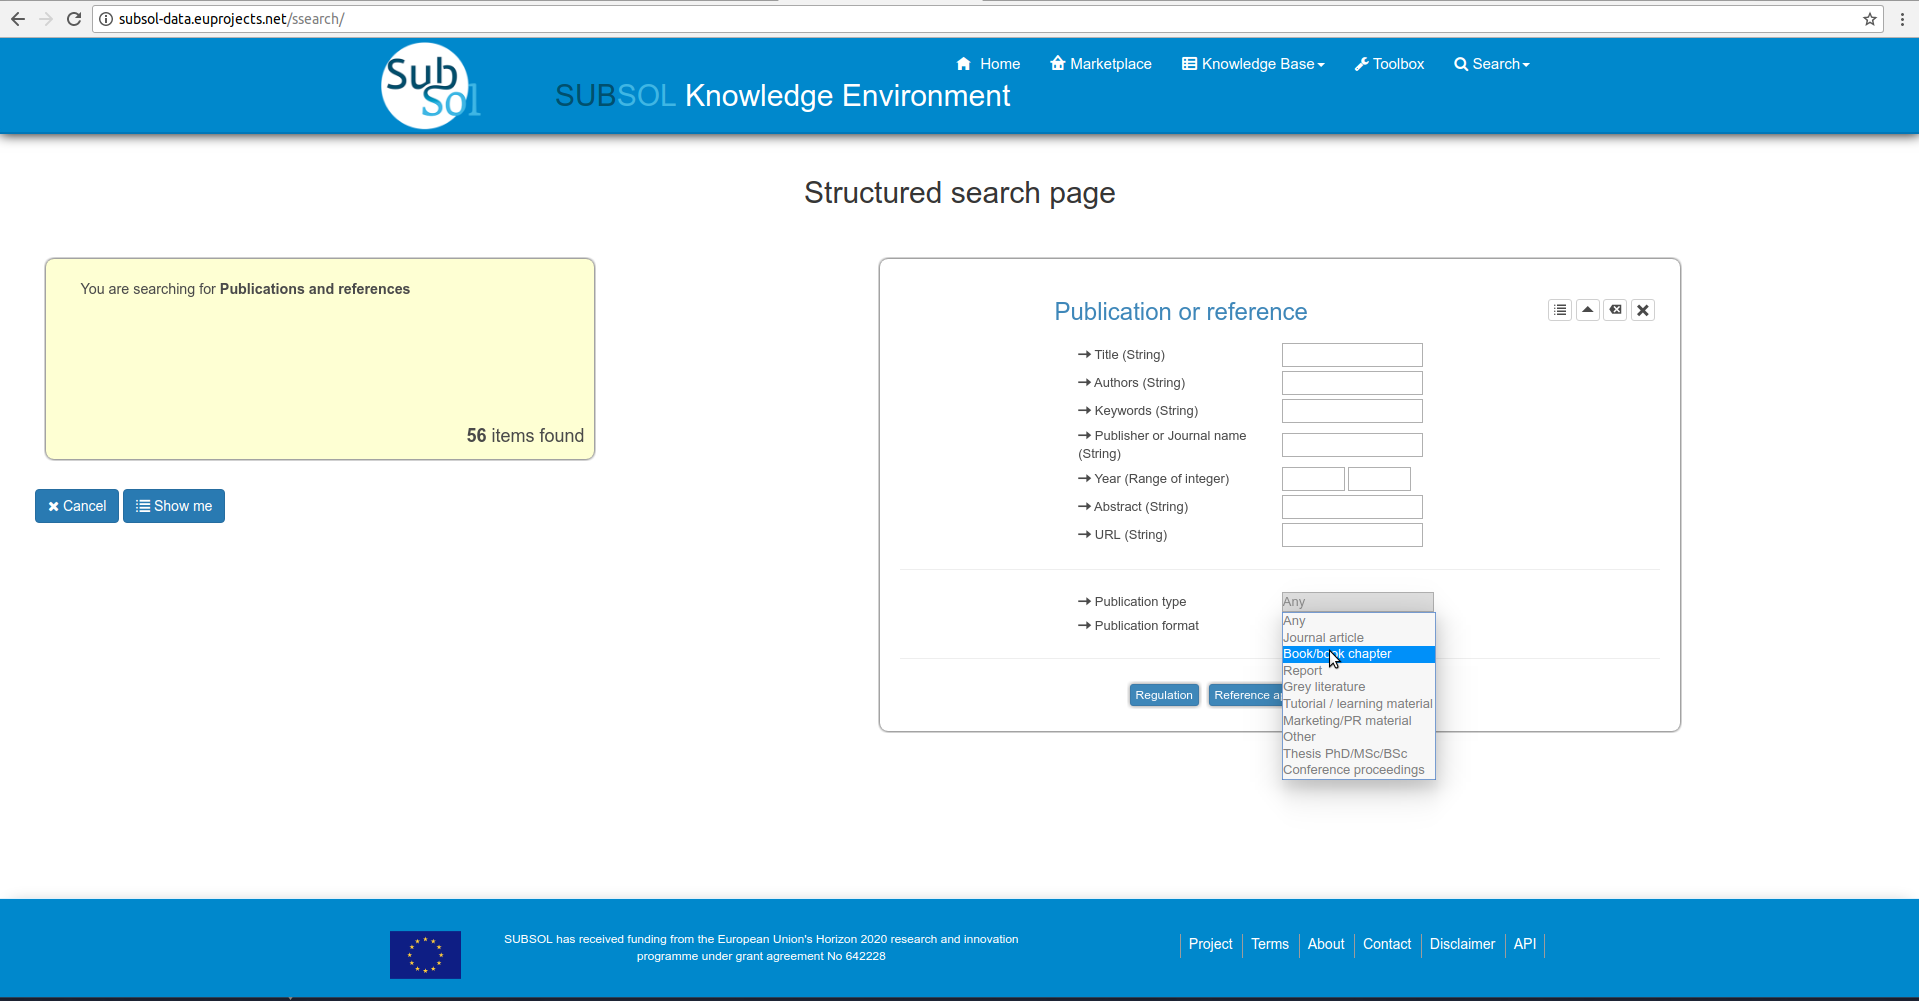
- Select an item from the search results.

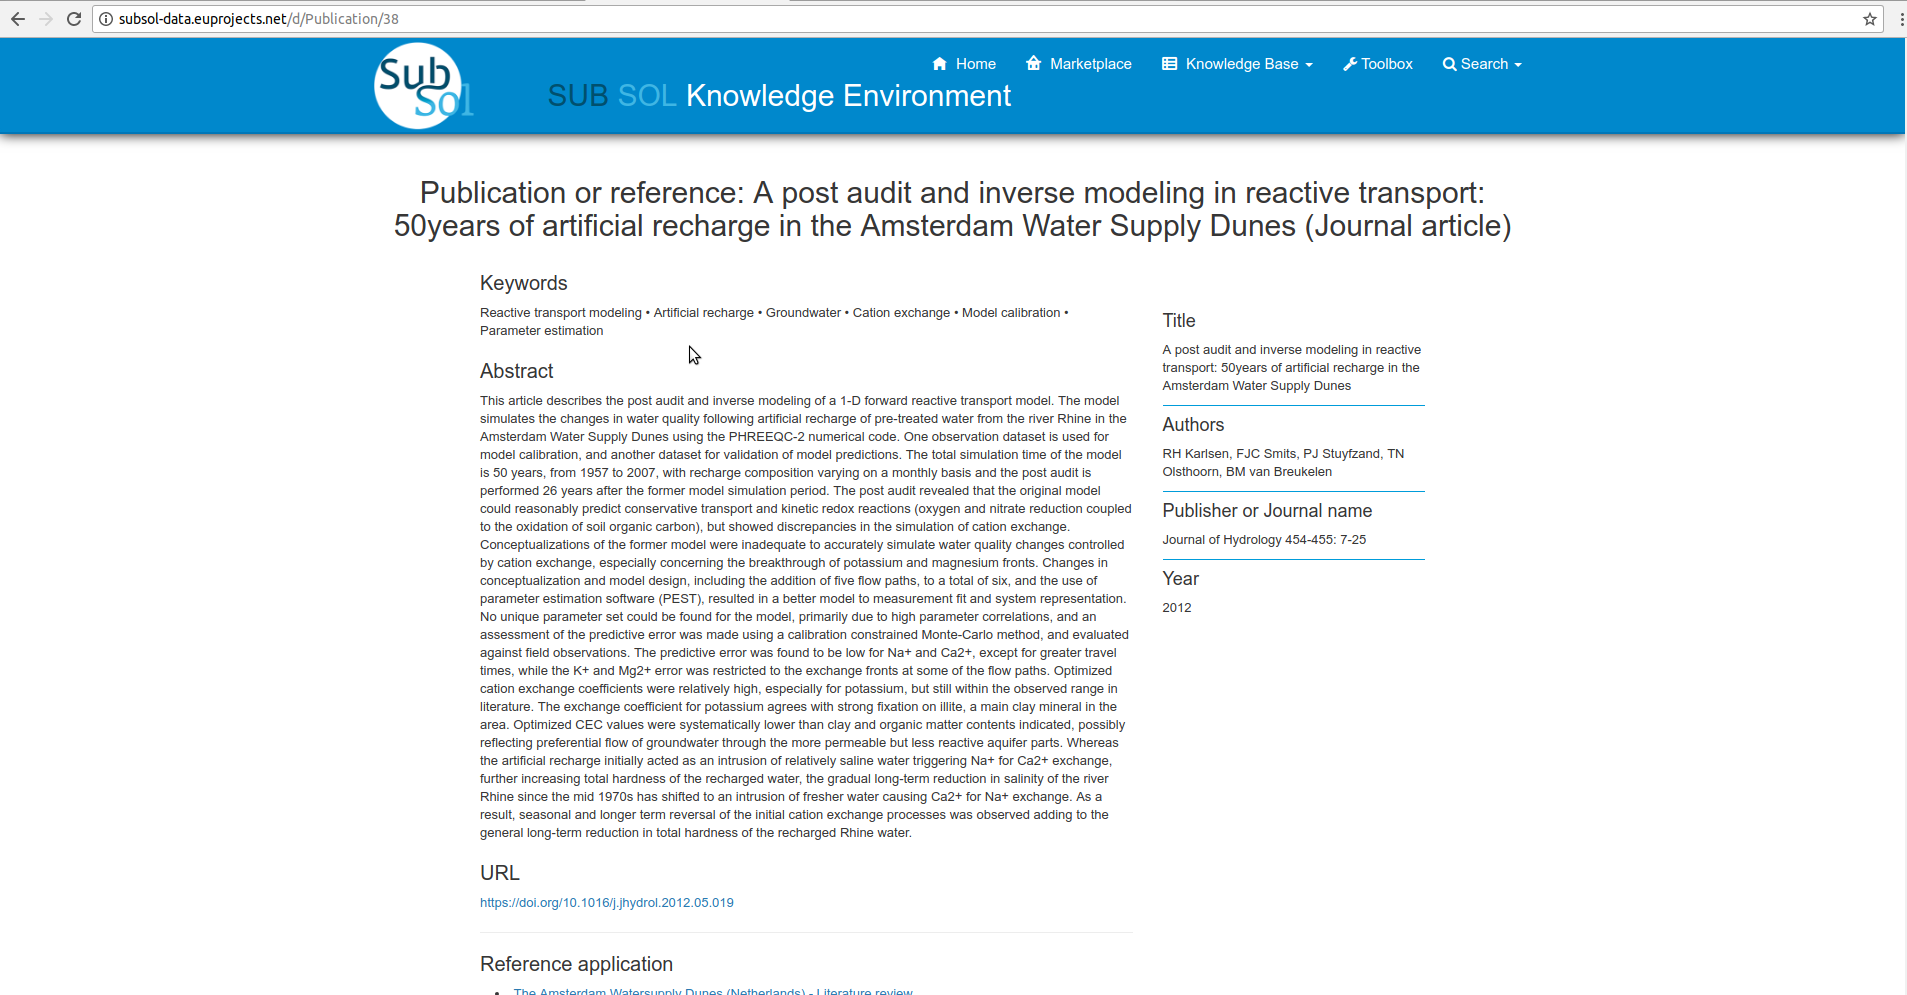
- View full information available for this item.
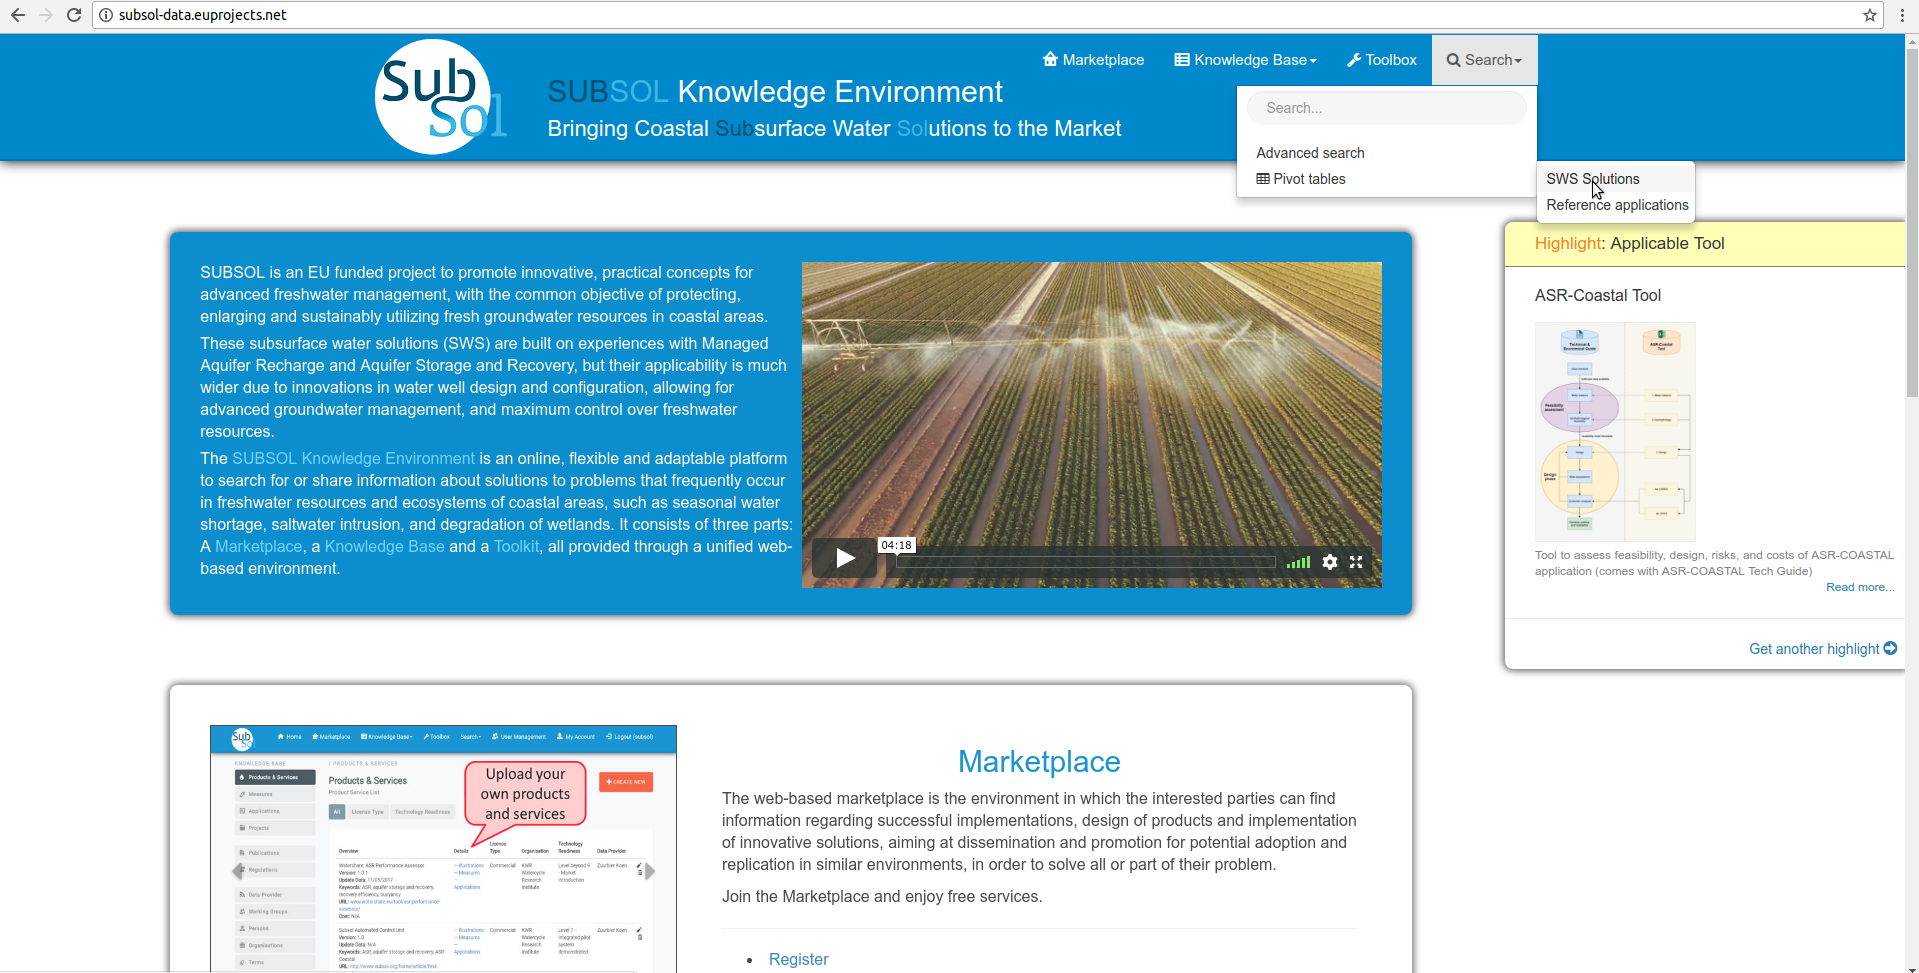
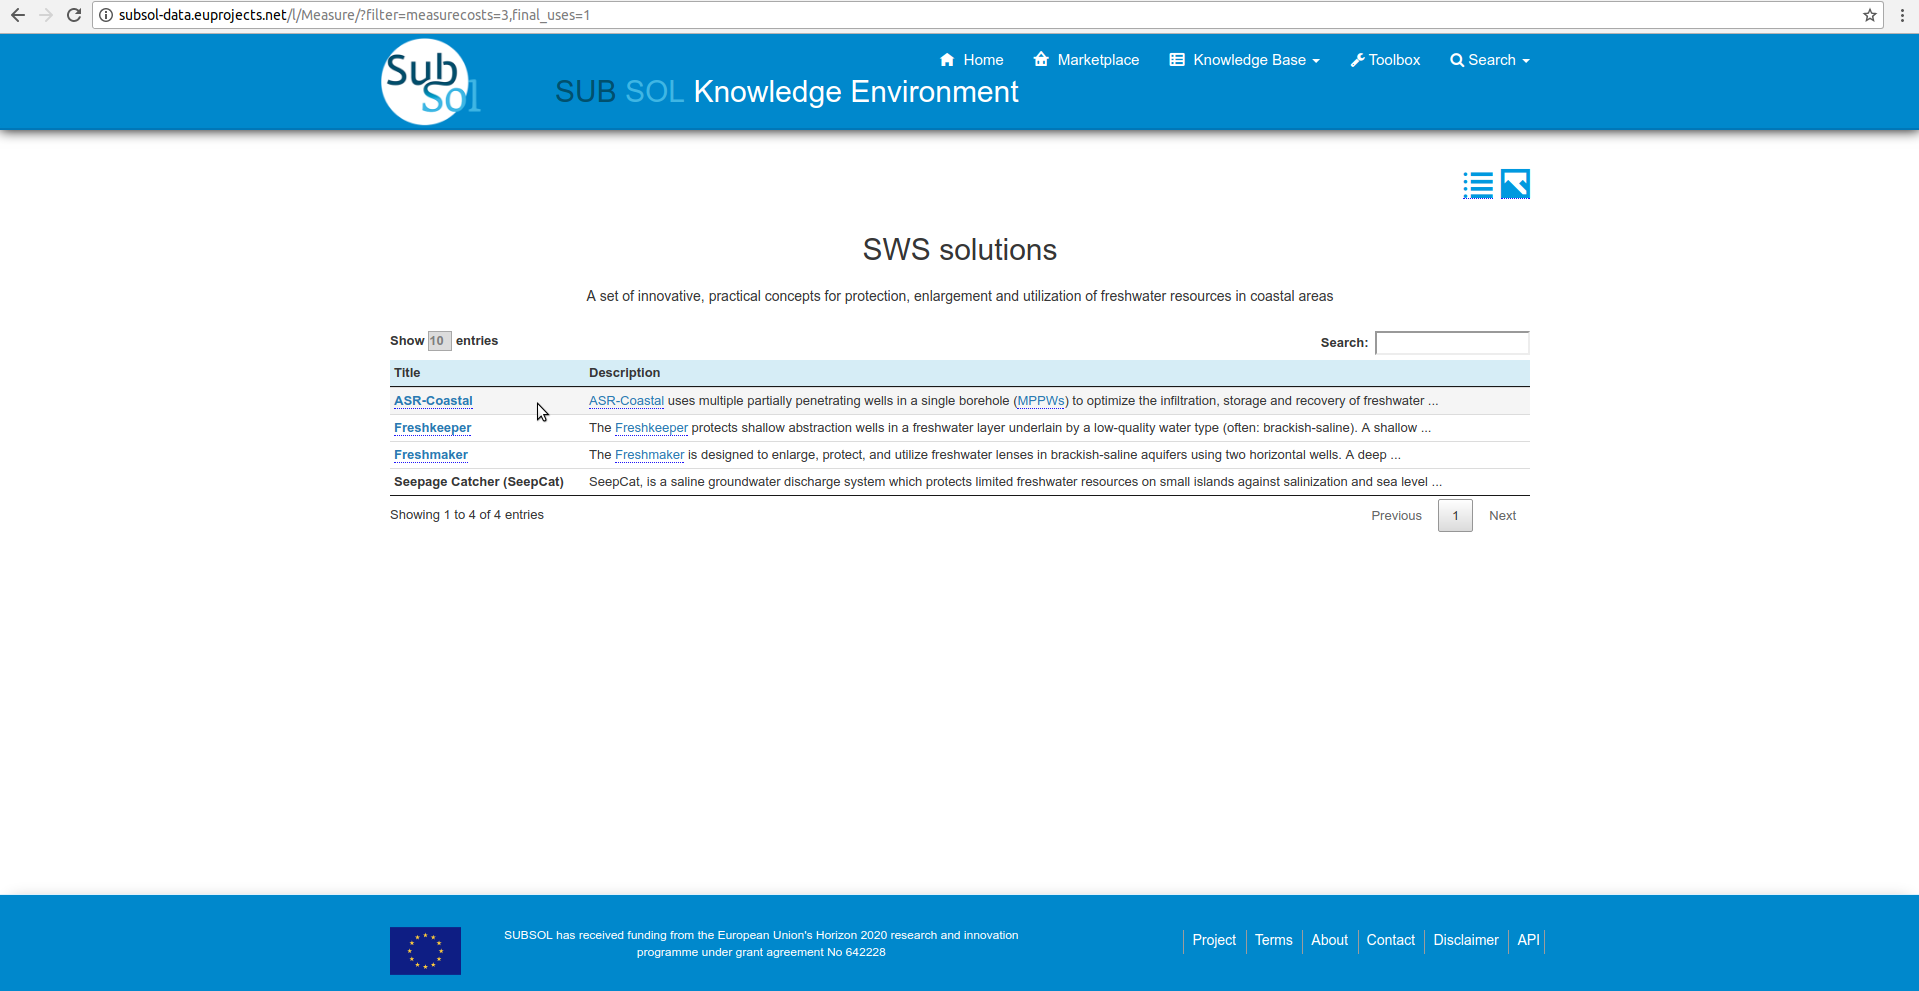
3. Pivot Tables
- Click on “Search” button.
- Click on “Pivot Tables”.
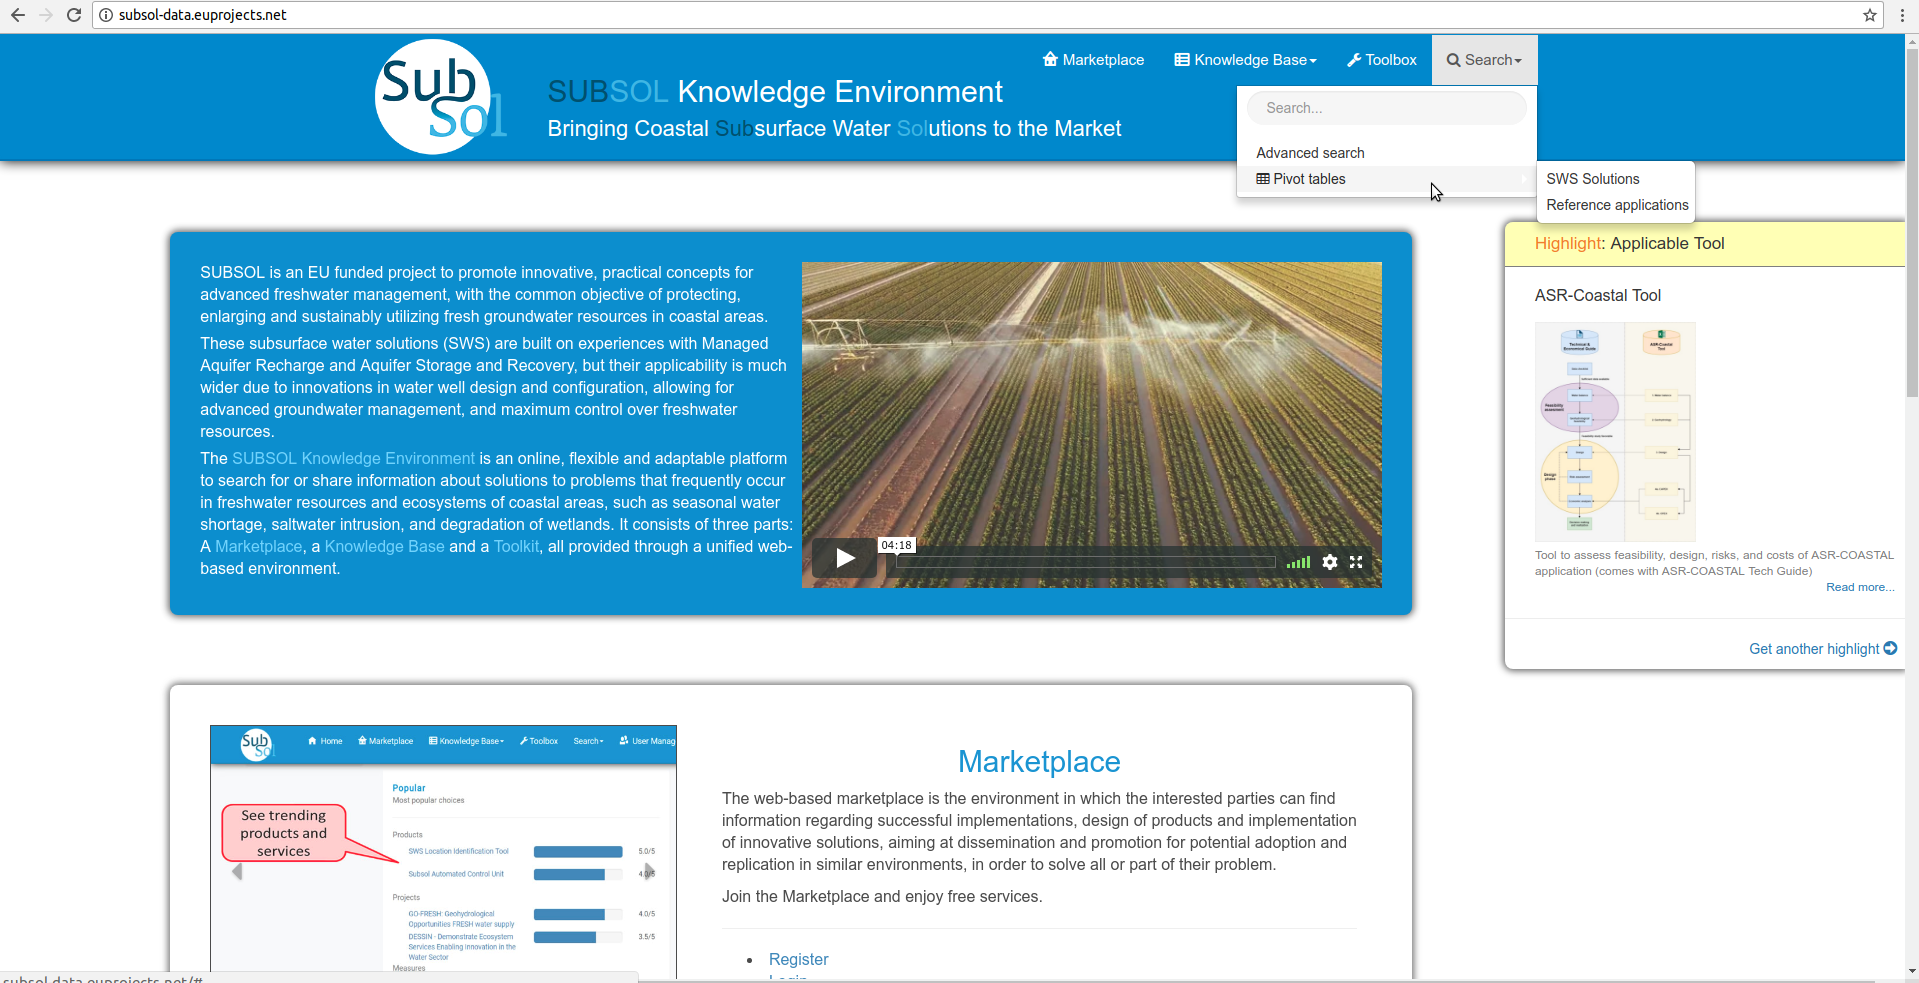
- Select the preferred category from the dropdown list. (In this use case “SWS SOLUTIONS”).
- Select the preferred parameters from dropdown lists.
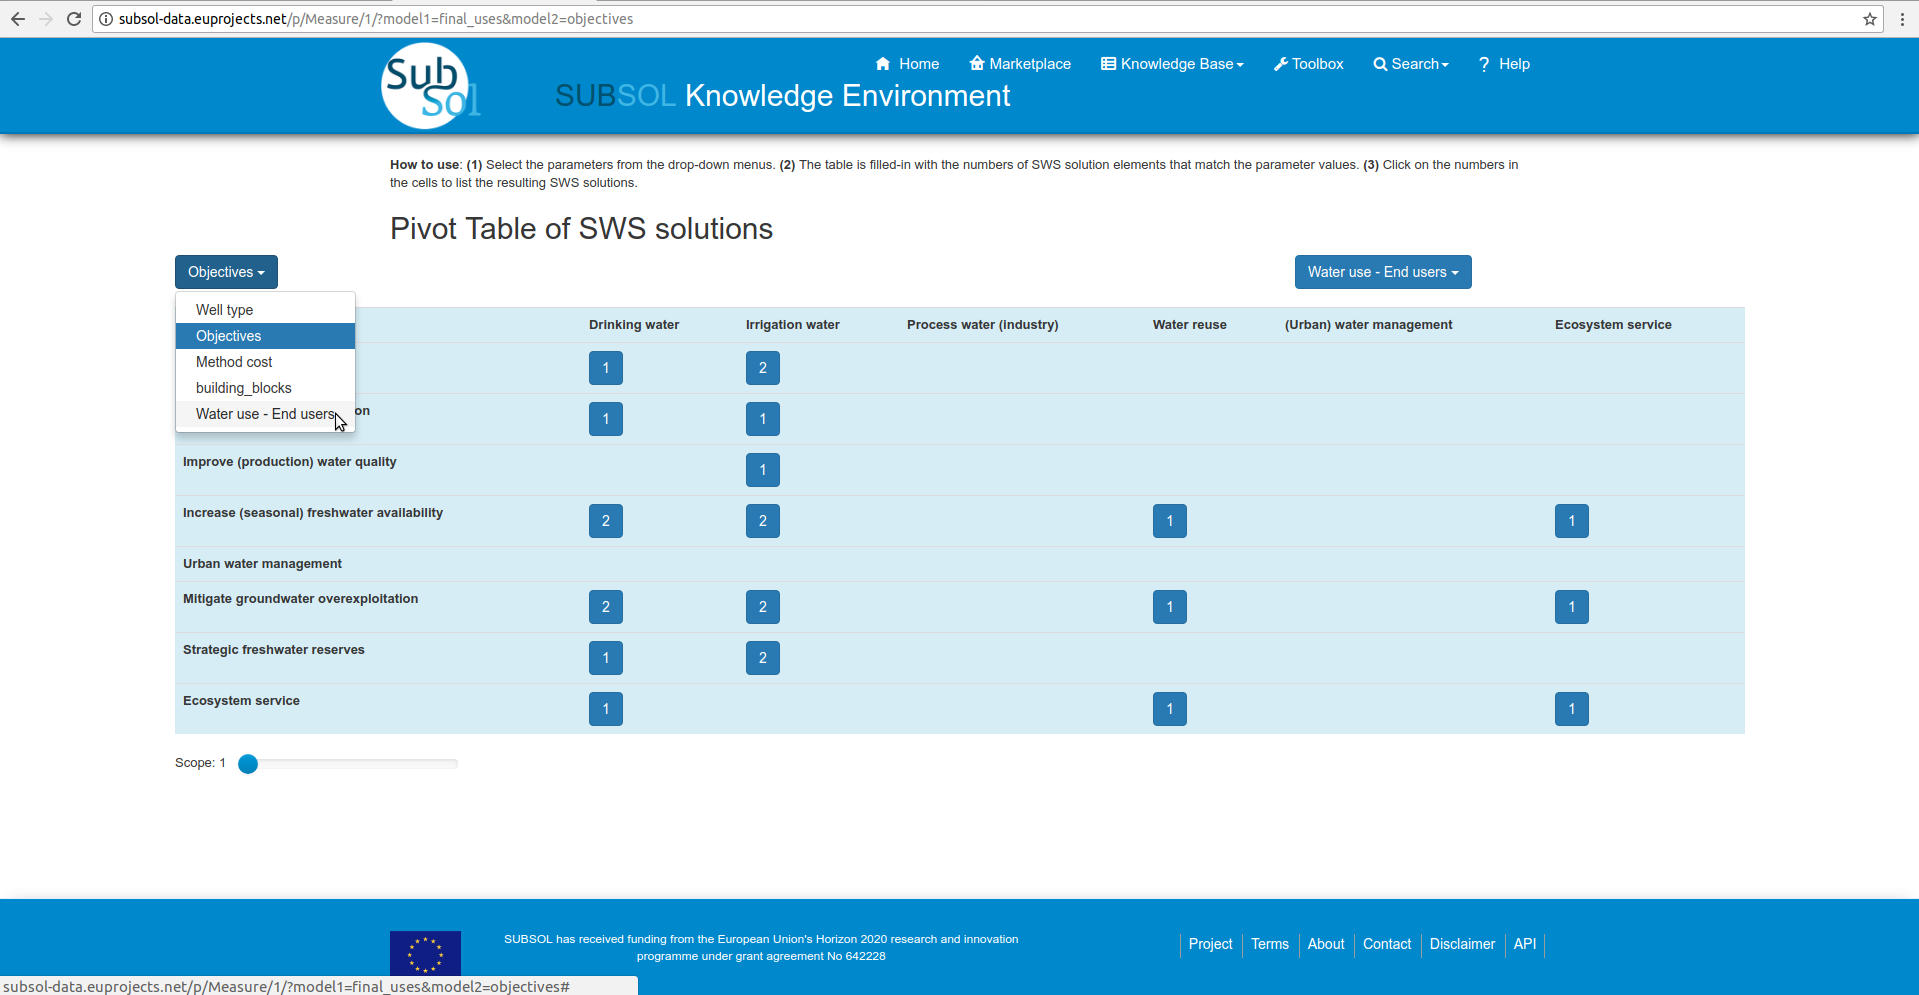
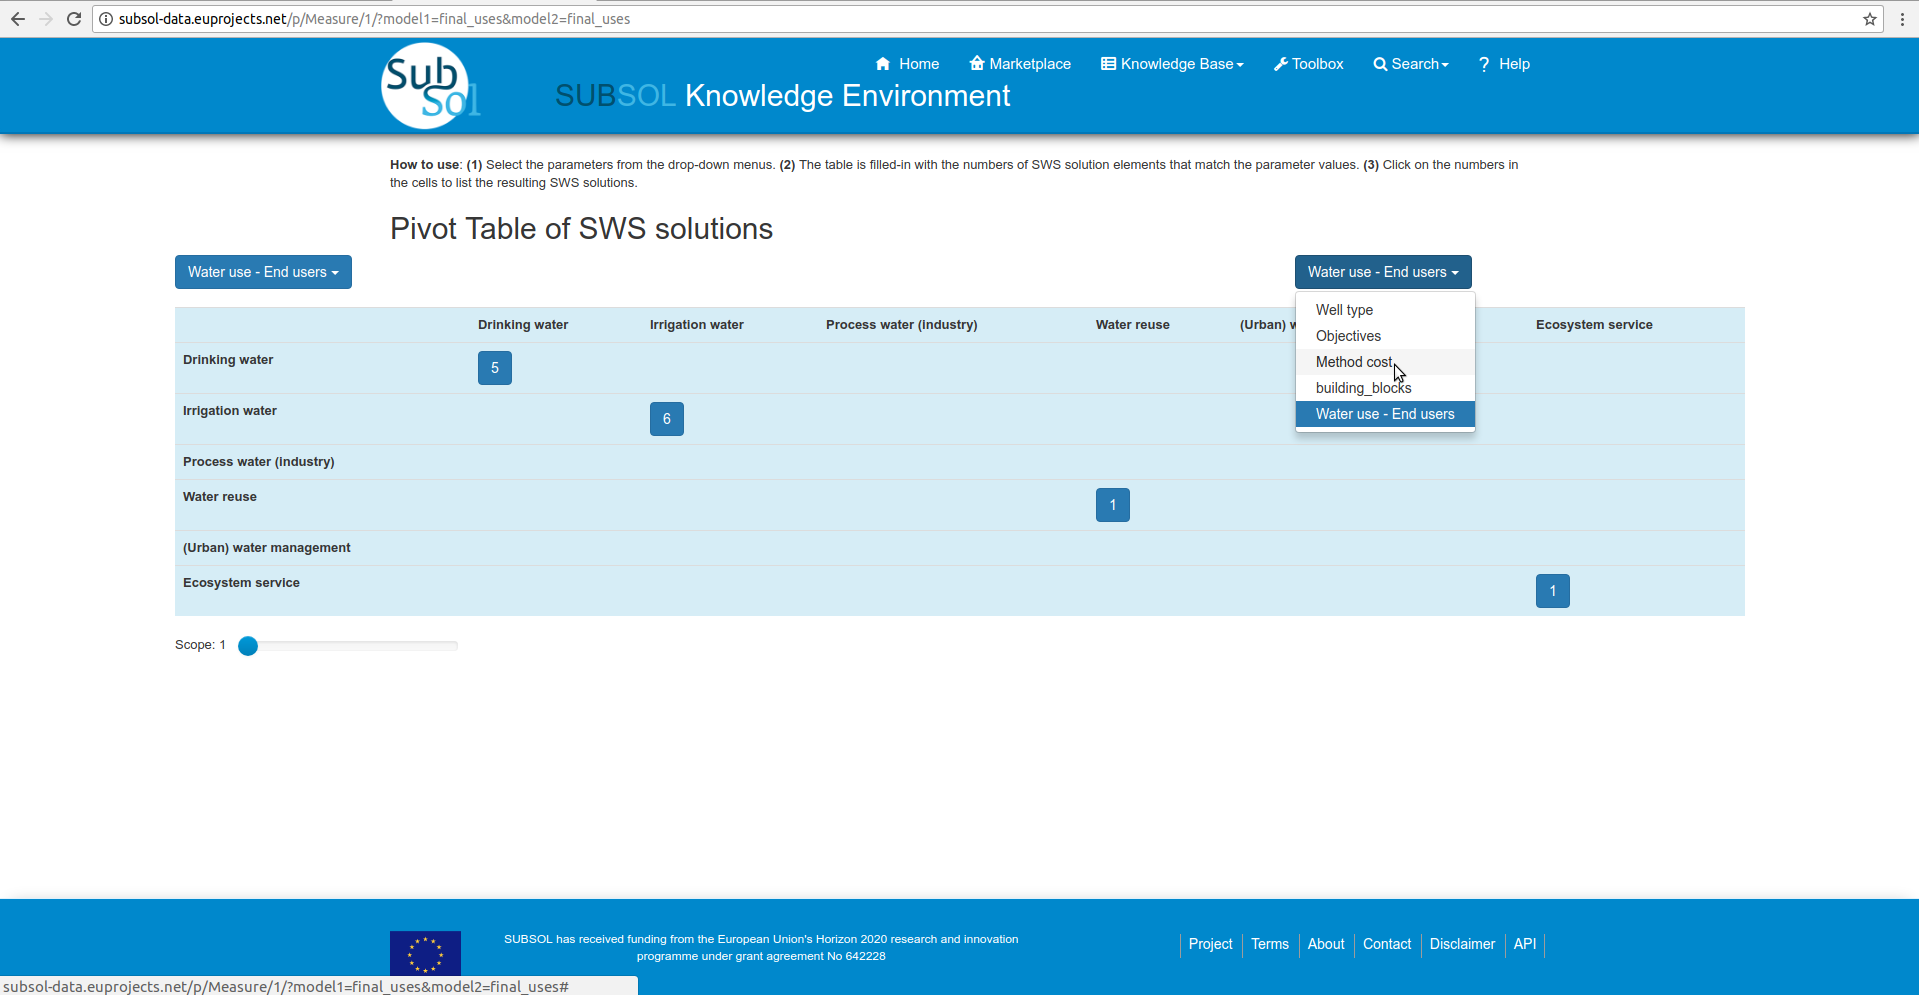
- Click on prefered results.
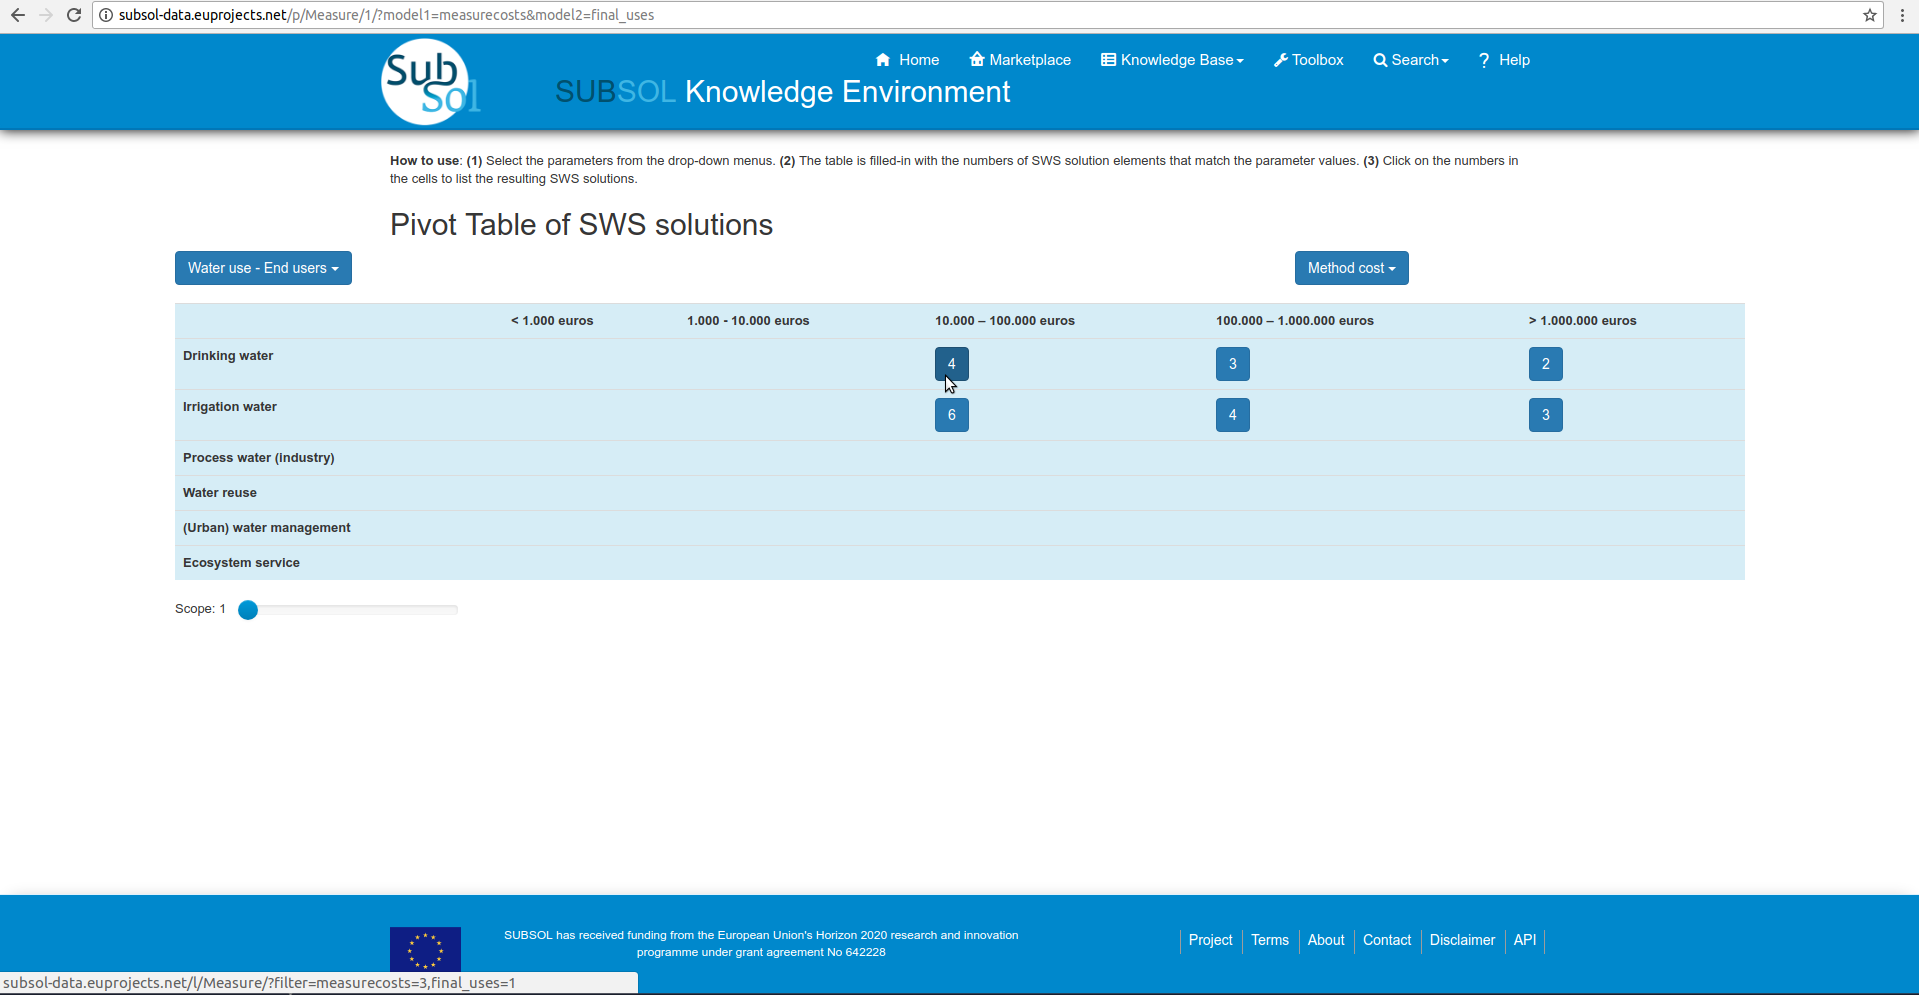
- Click on relevant item and view details.
Private Services
1.Categories
- Initially the user must login with private account privileges.
- Click on “Edit”.
- The desired Knowledge base category are at left menu.
Add Content
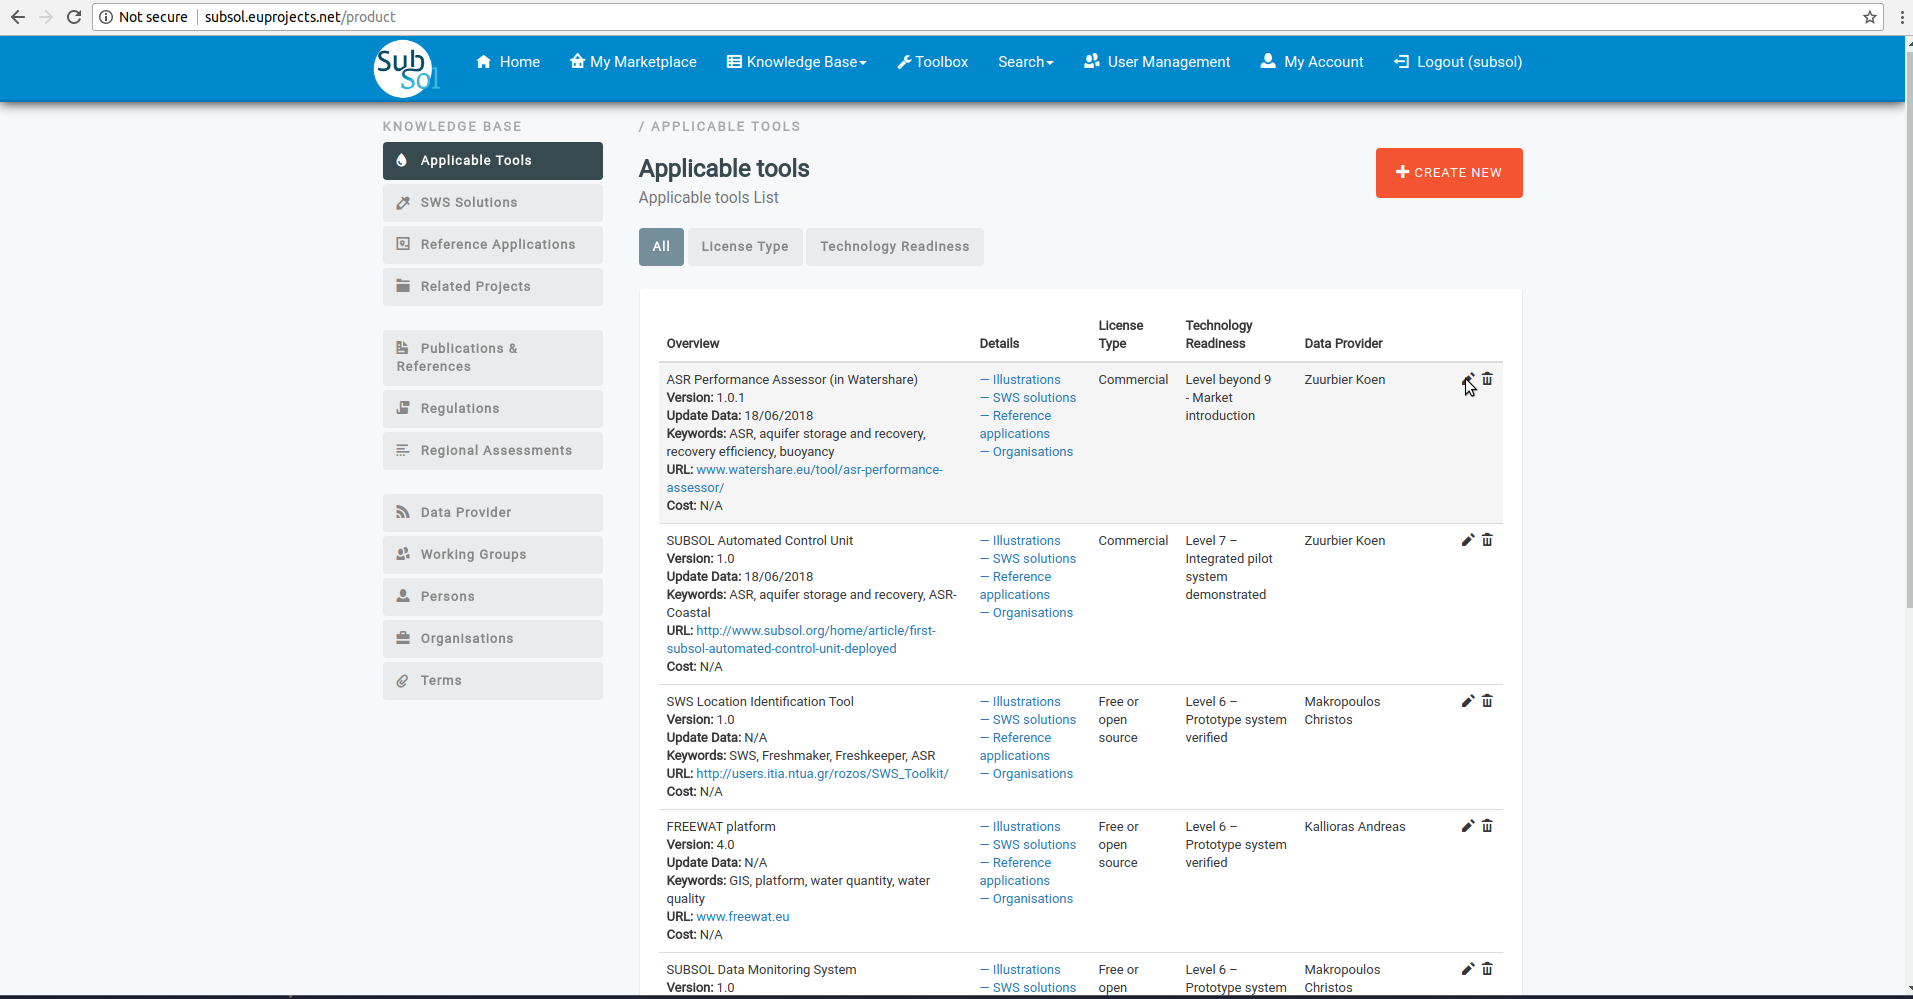
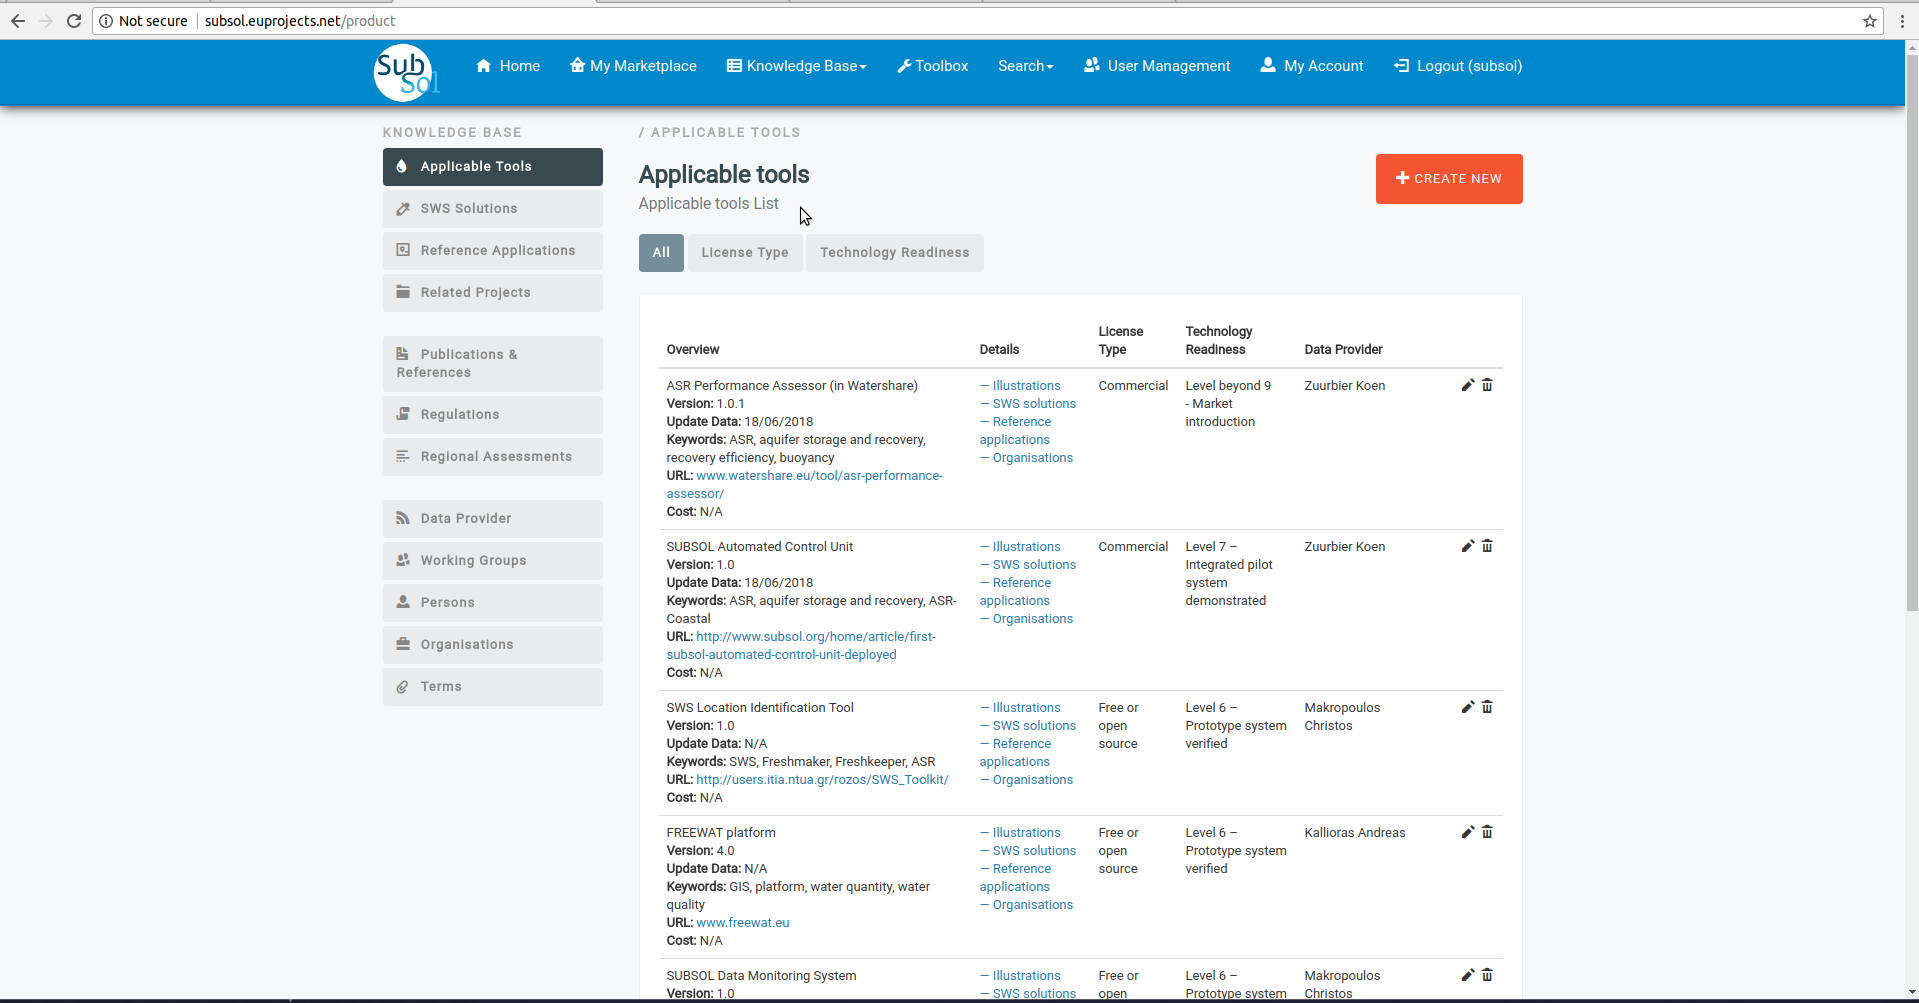
- Click on desired menu-item (in this case Application Tools).
- Click on “CREATE NEW” button.
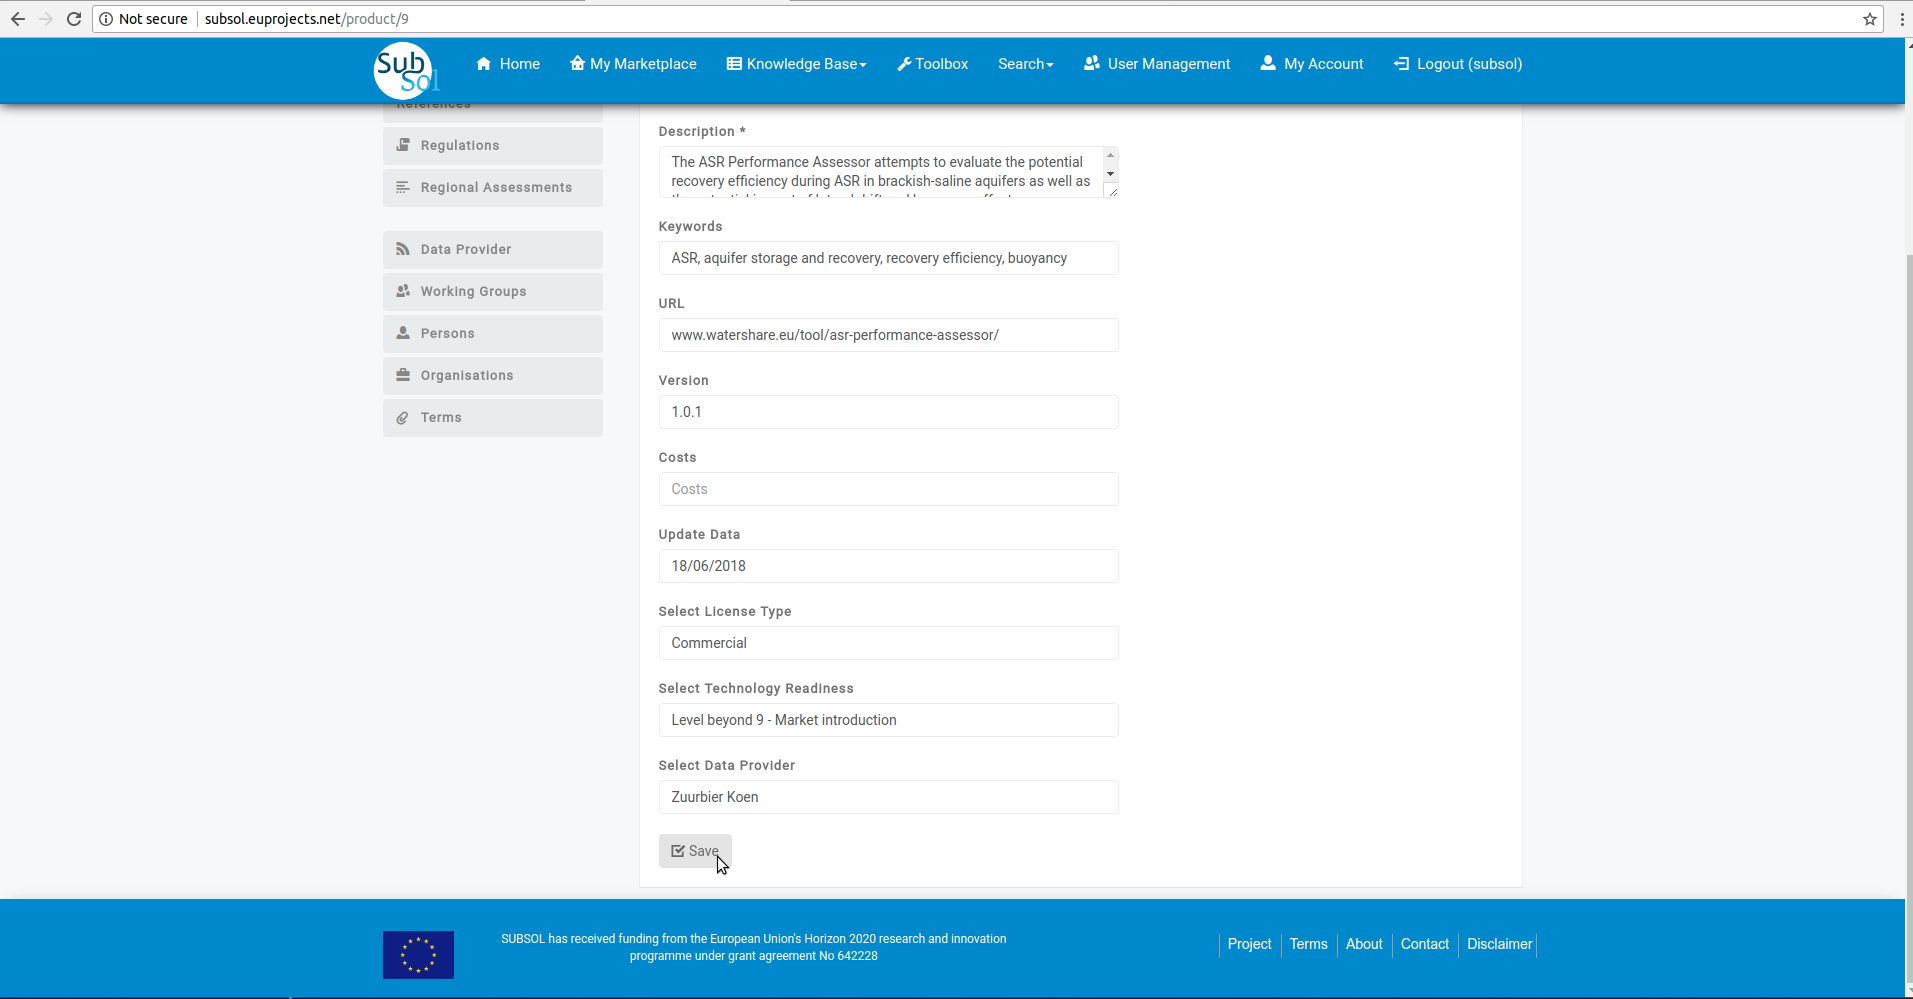
- Provide your info and click on “Save” button.
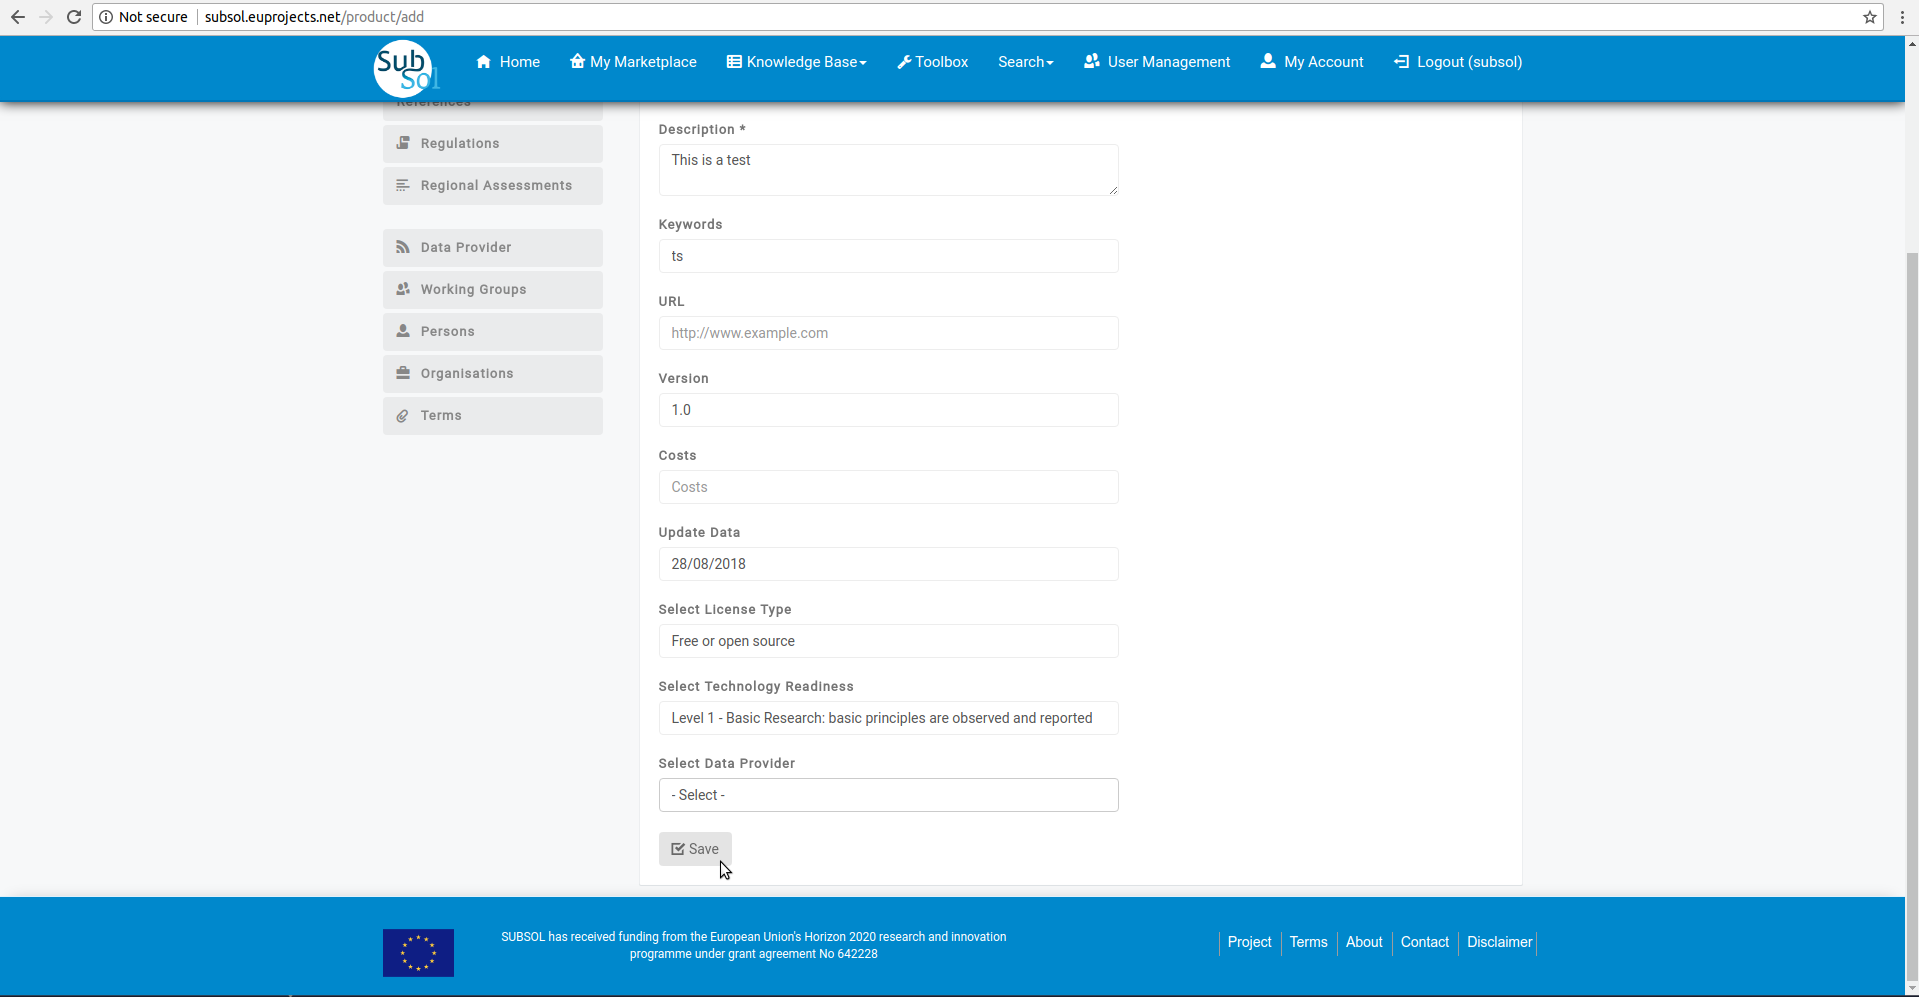
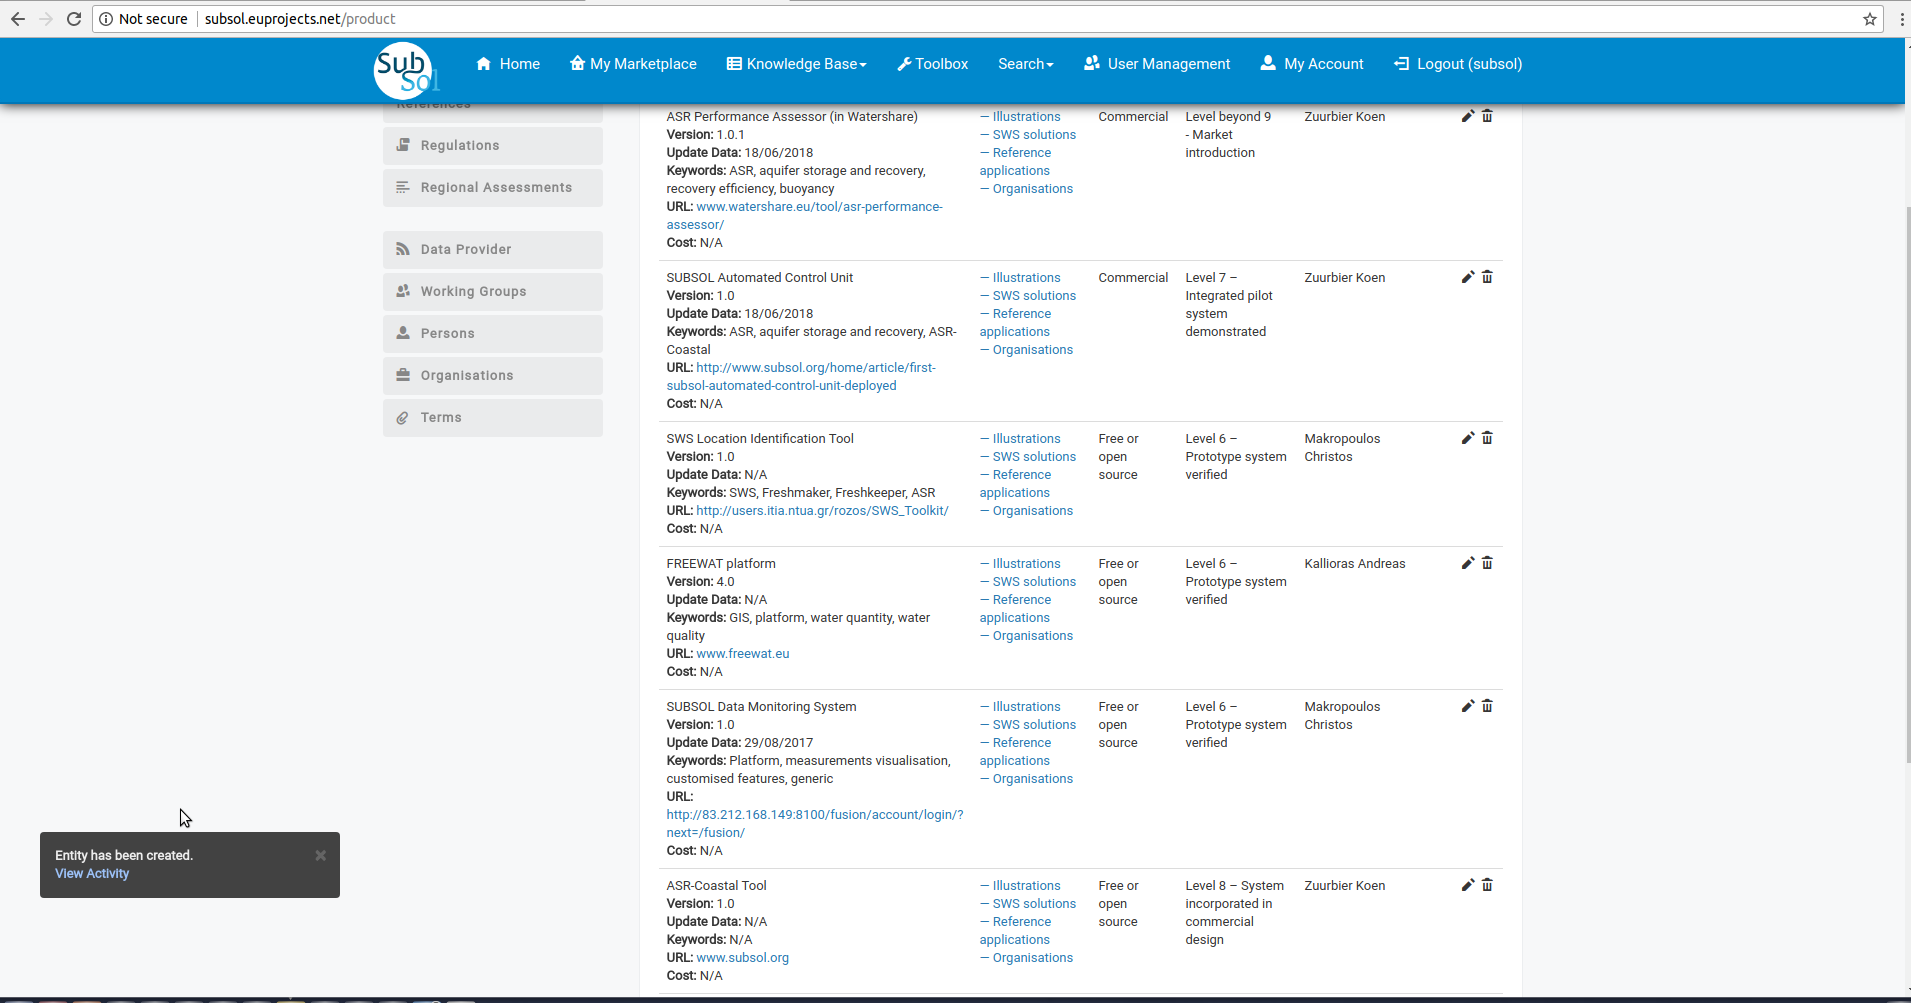
- A pop-up message confirms that you have successfully create your new entry.
Modify Content
- Click on “Modify” pencil-item.
- Provide your changes and click on “Save” button.
- A pop-up message confirms that you have successfully create your new entry.
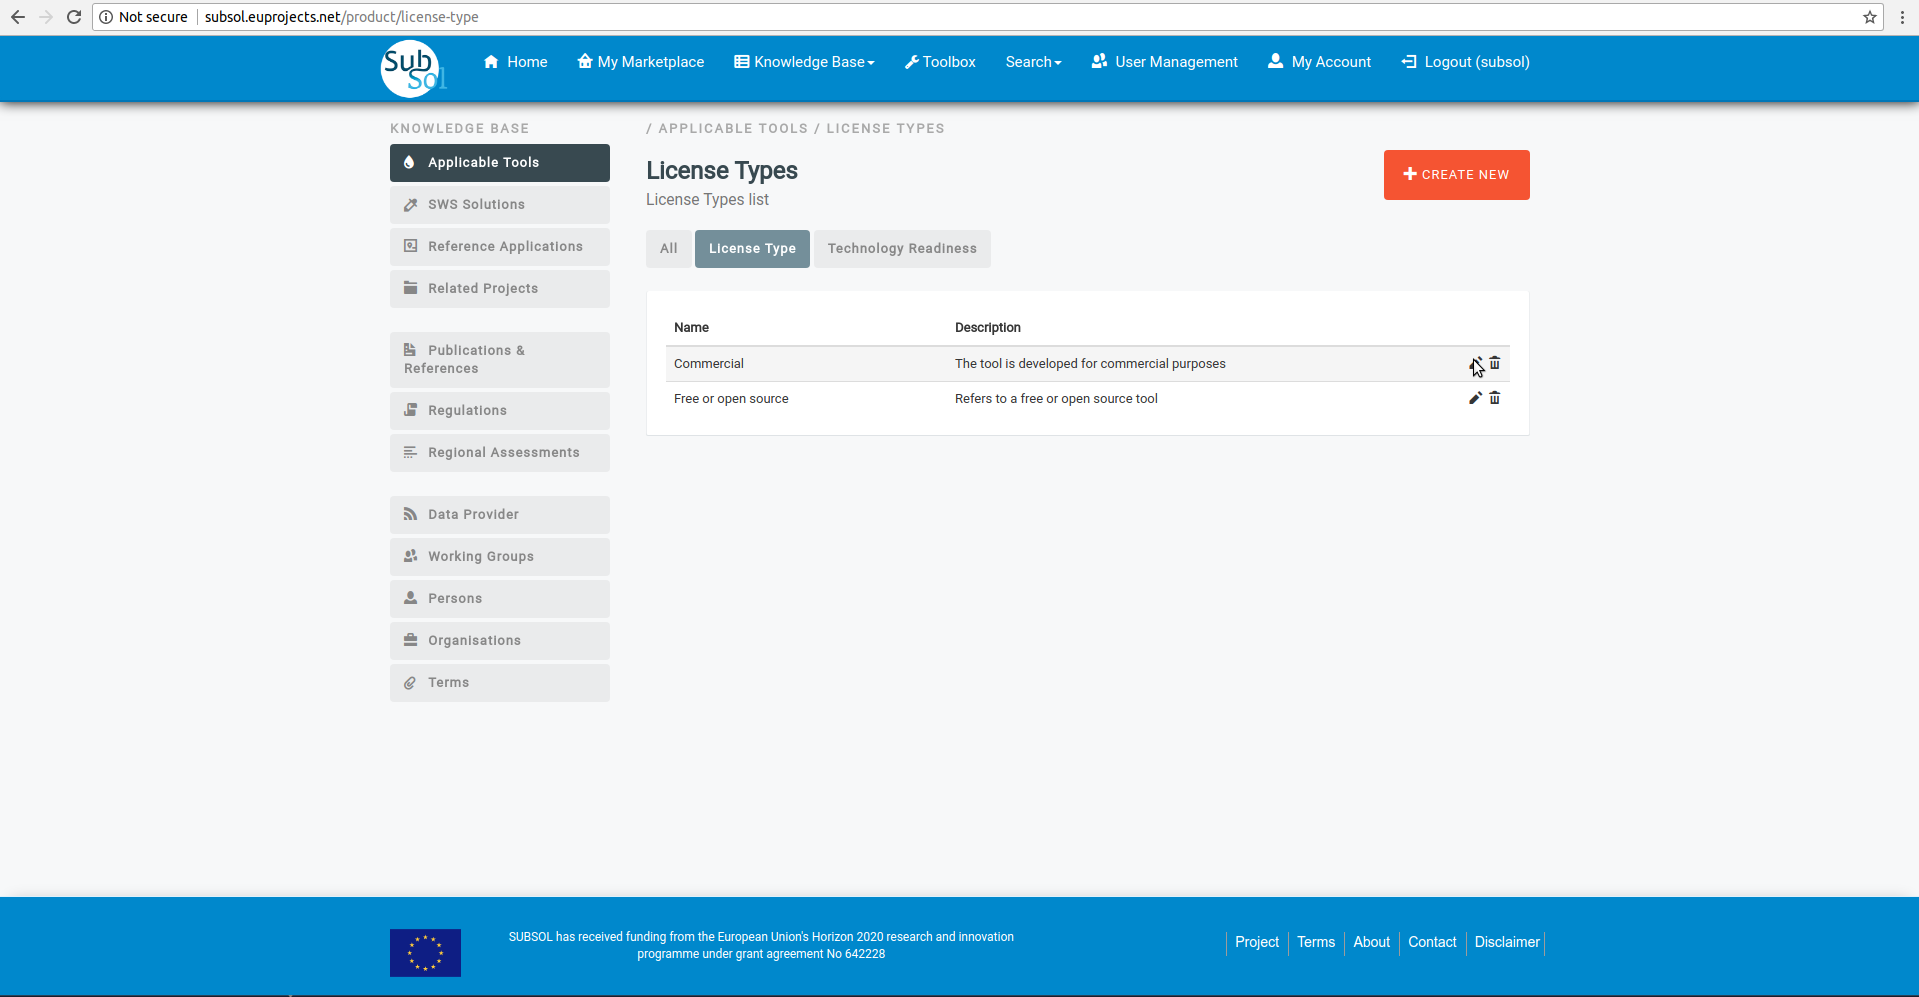
2.Applicable Tools
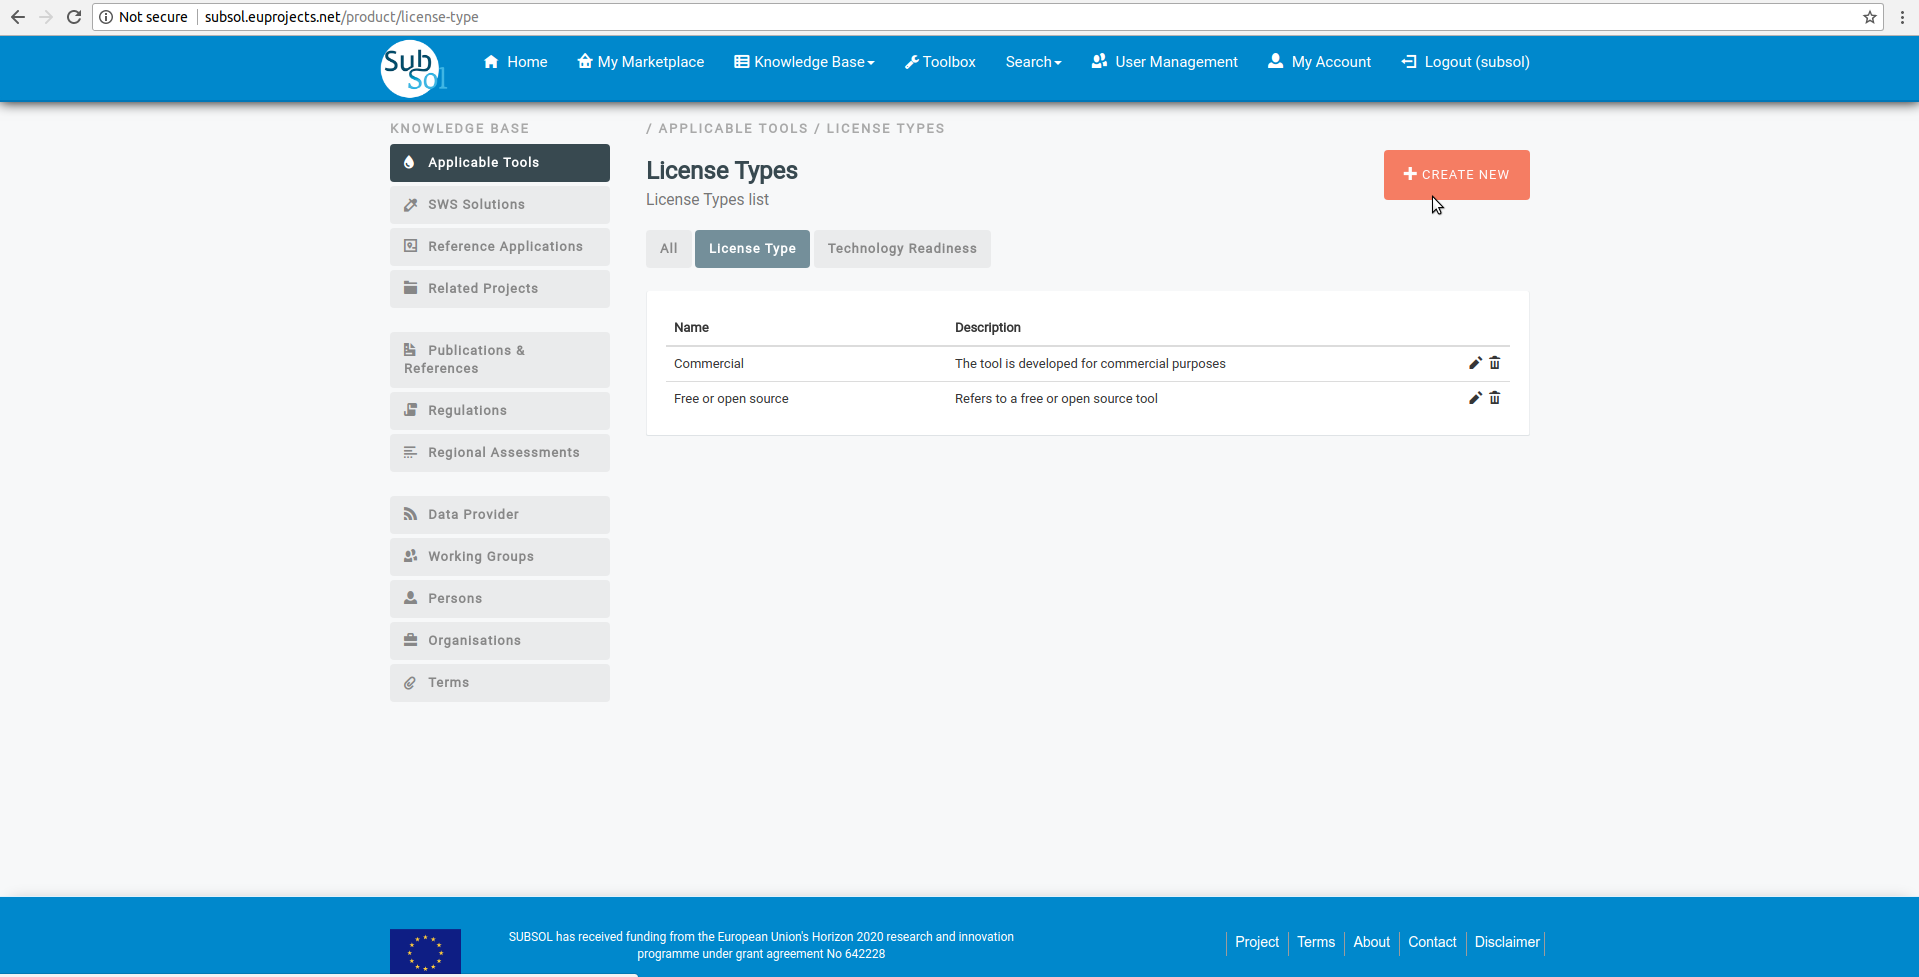
2.1. Licence Type
- Click on “Licence Type” menu-item
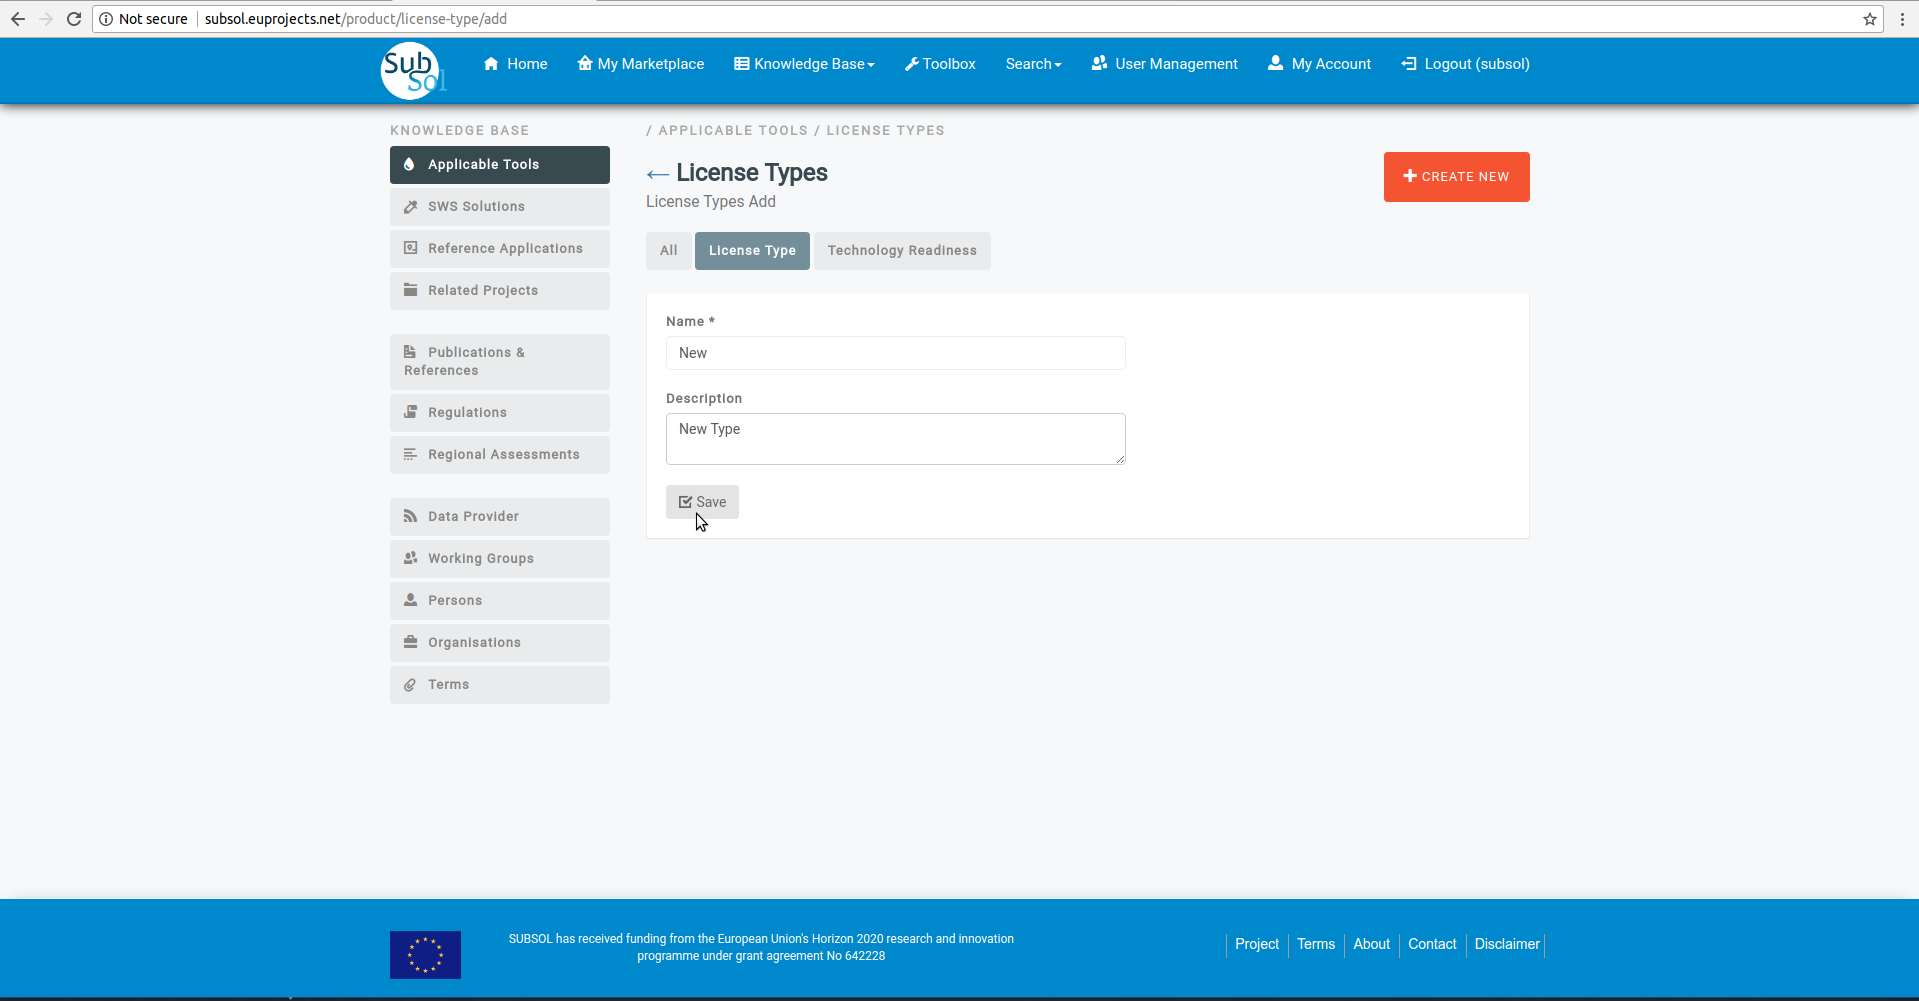
- Click on “CREATE NEW” button.
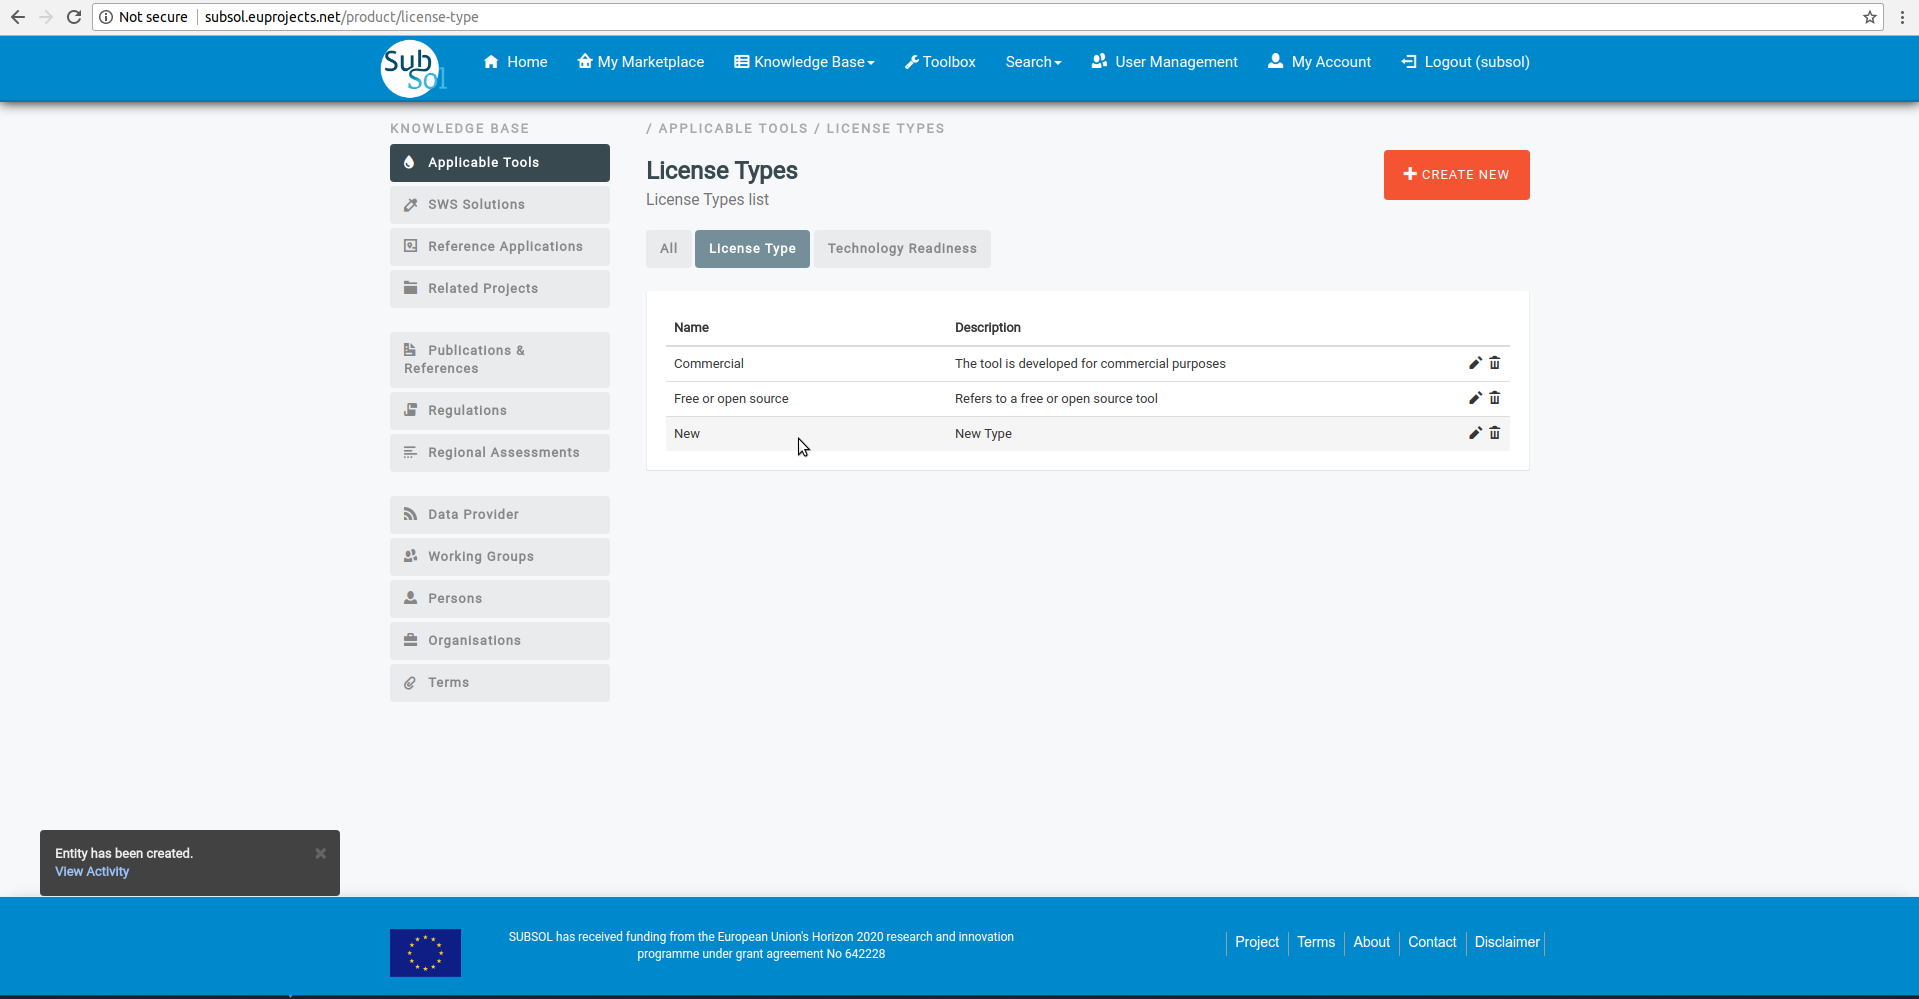
- Provide licence type info and click on “Save” button.
- A pop-up message confirms that you have successfully create your new licence type.
- Edit Licence Type
- Click on “Modify” pencil-item.
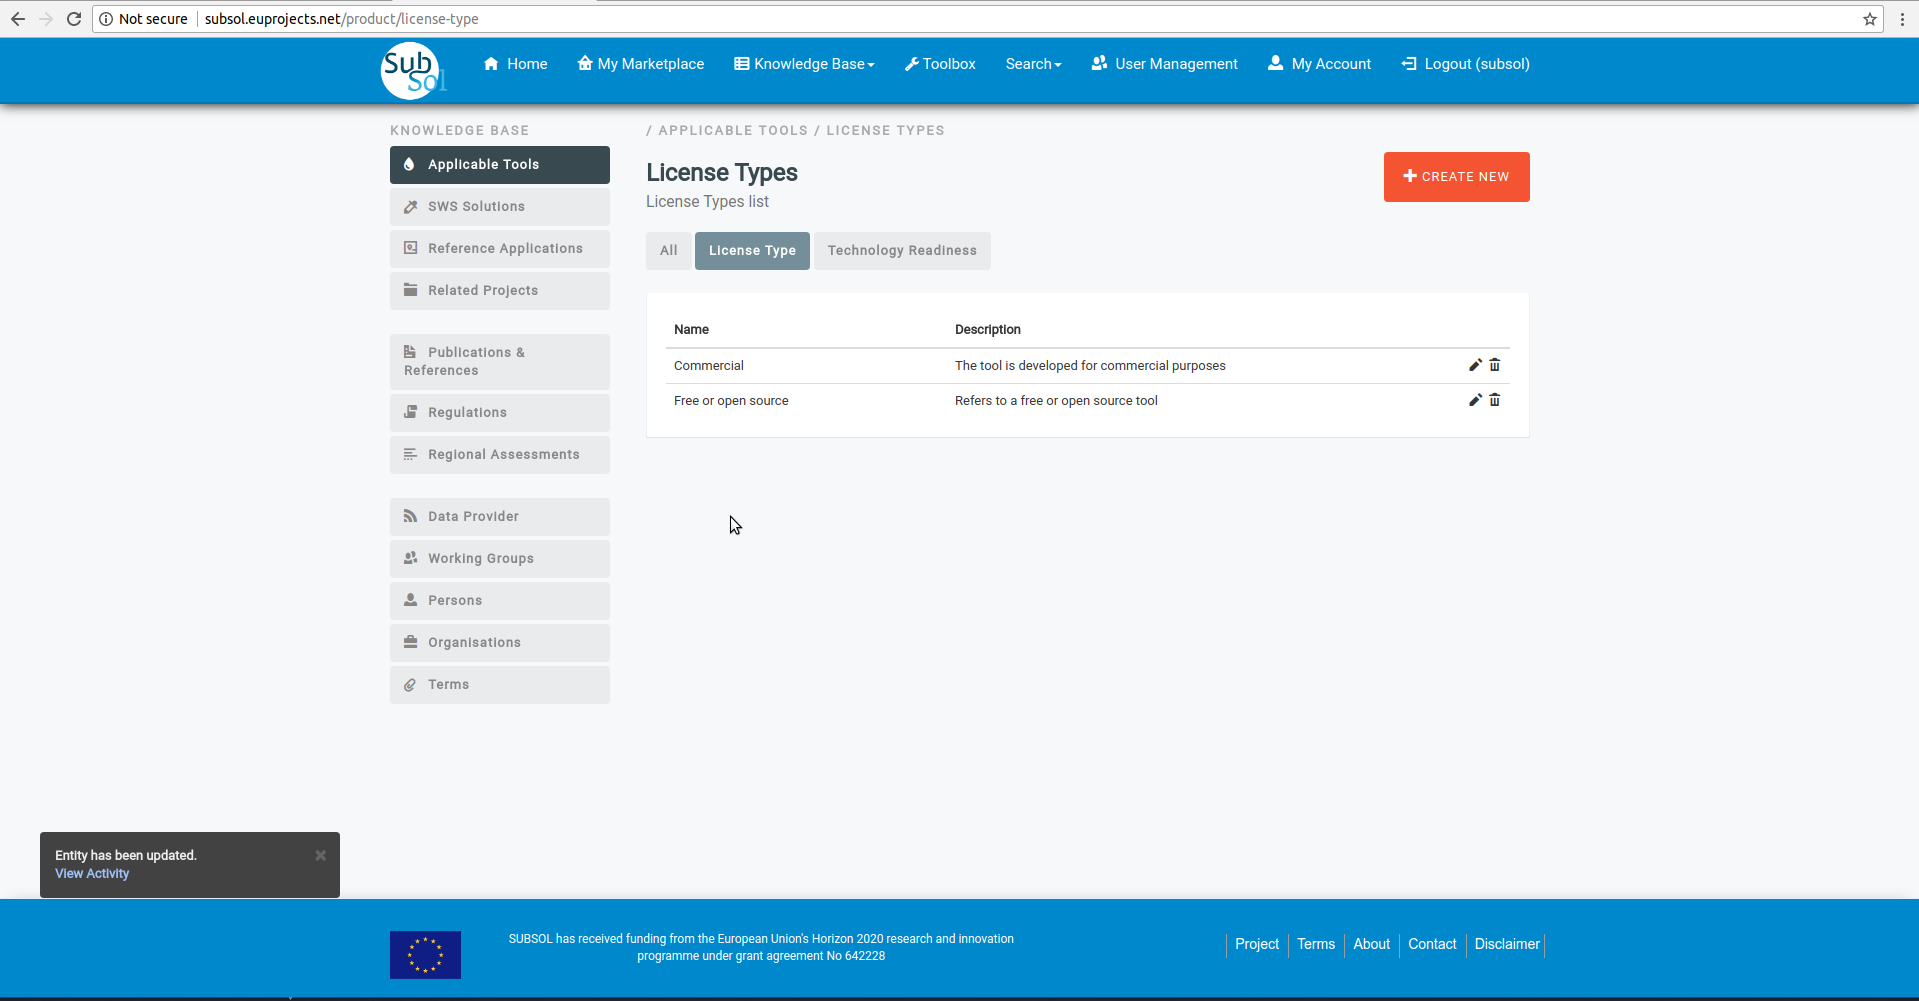
- Provide your changes and click on “Save” button.
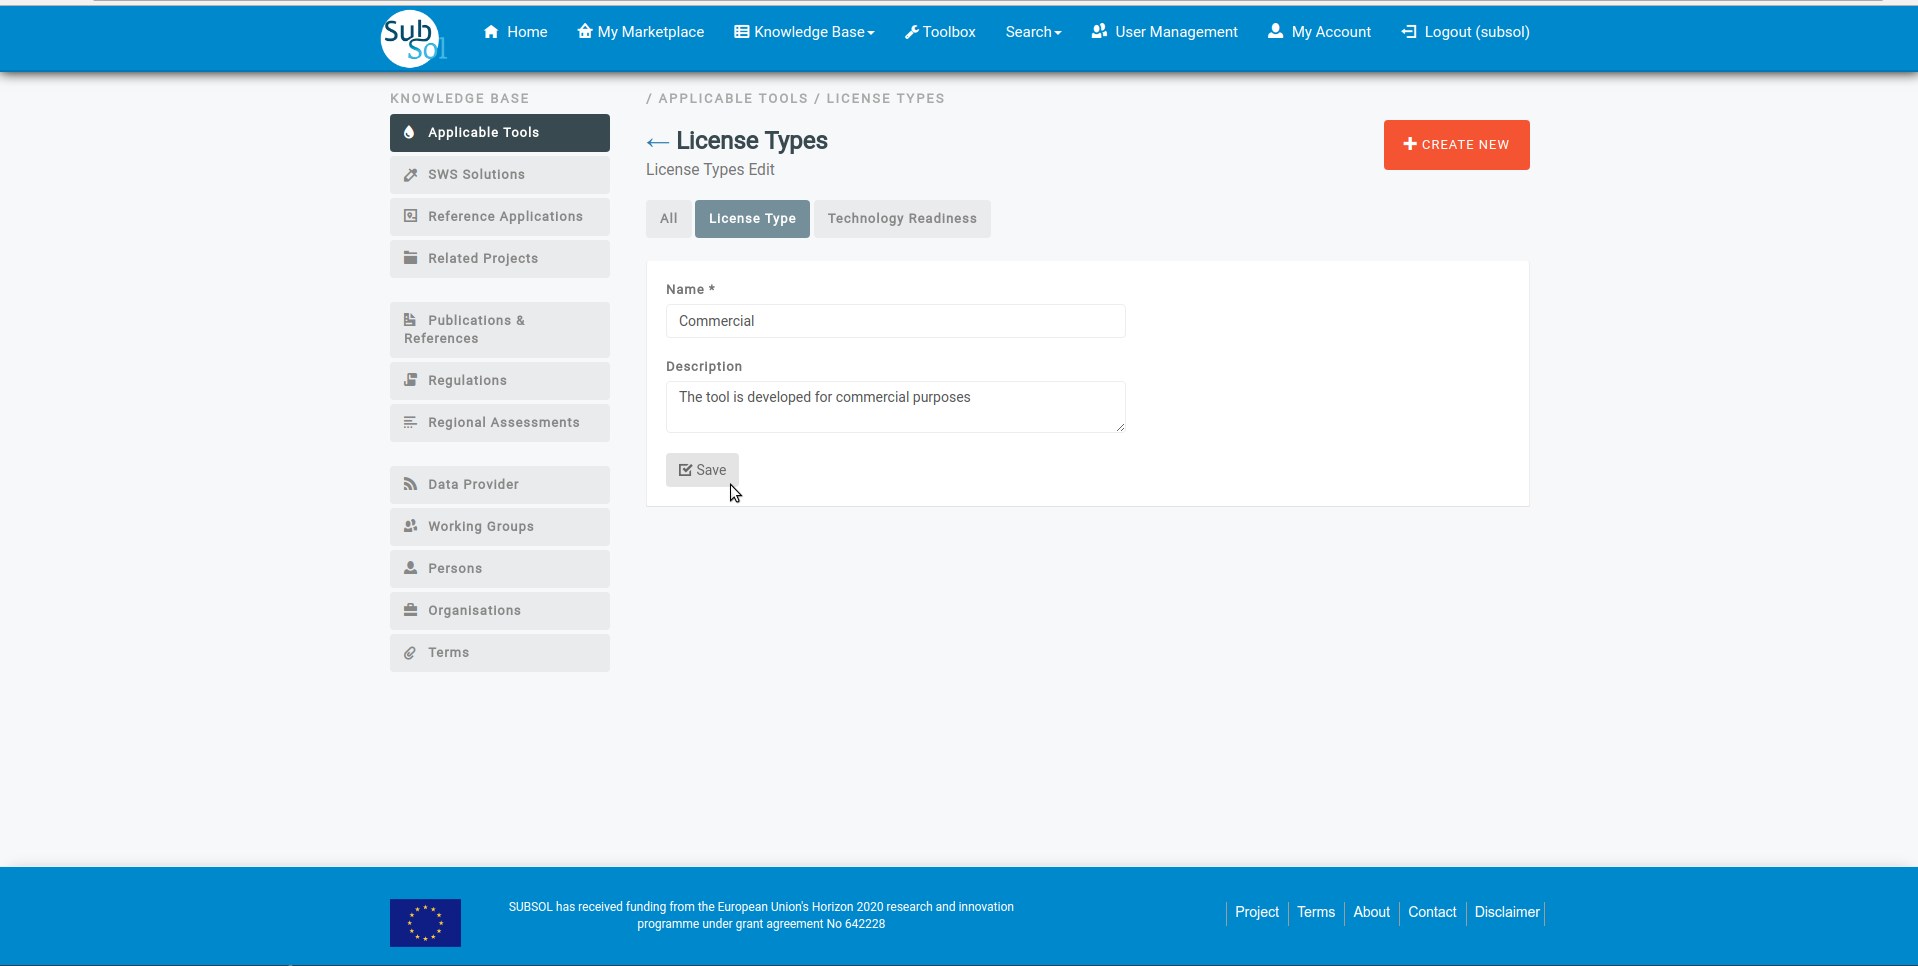
- A pop-up message confirms that you have successfully update your licence type.
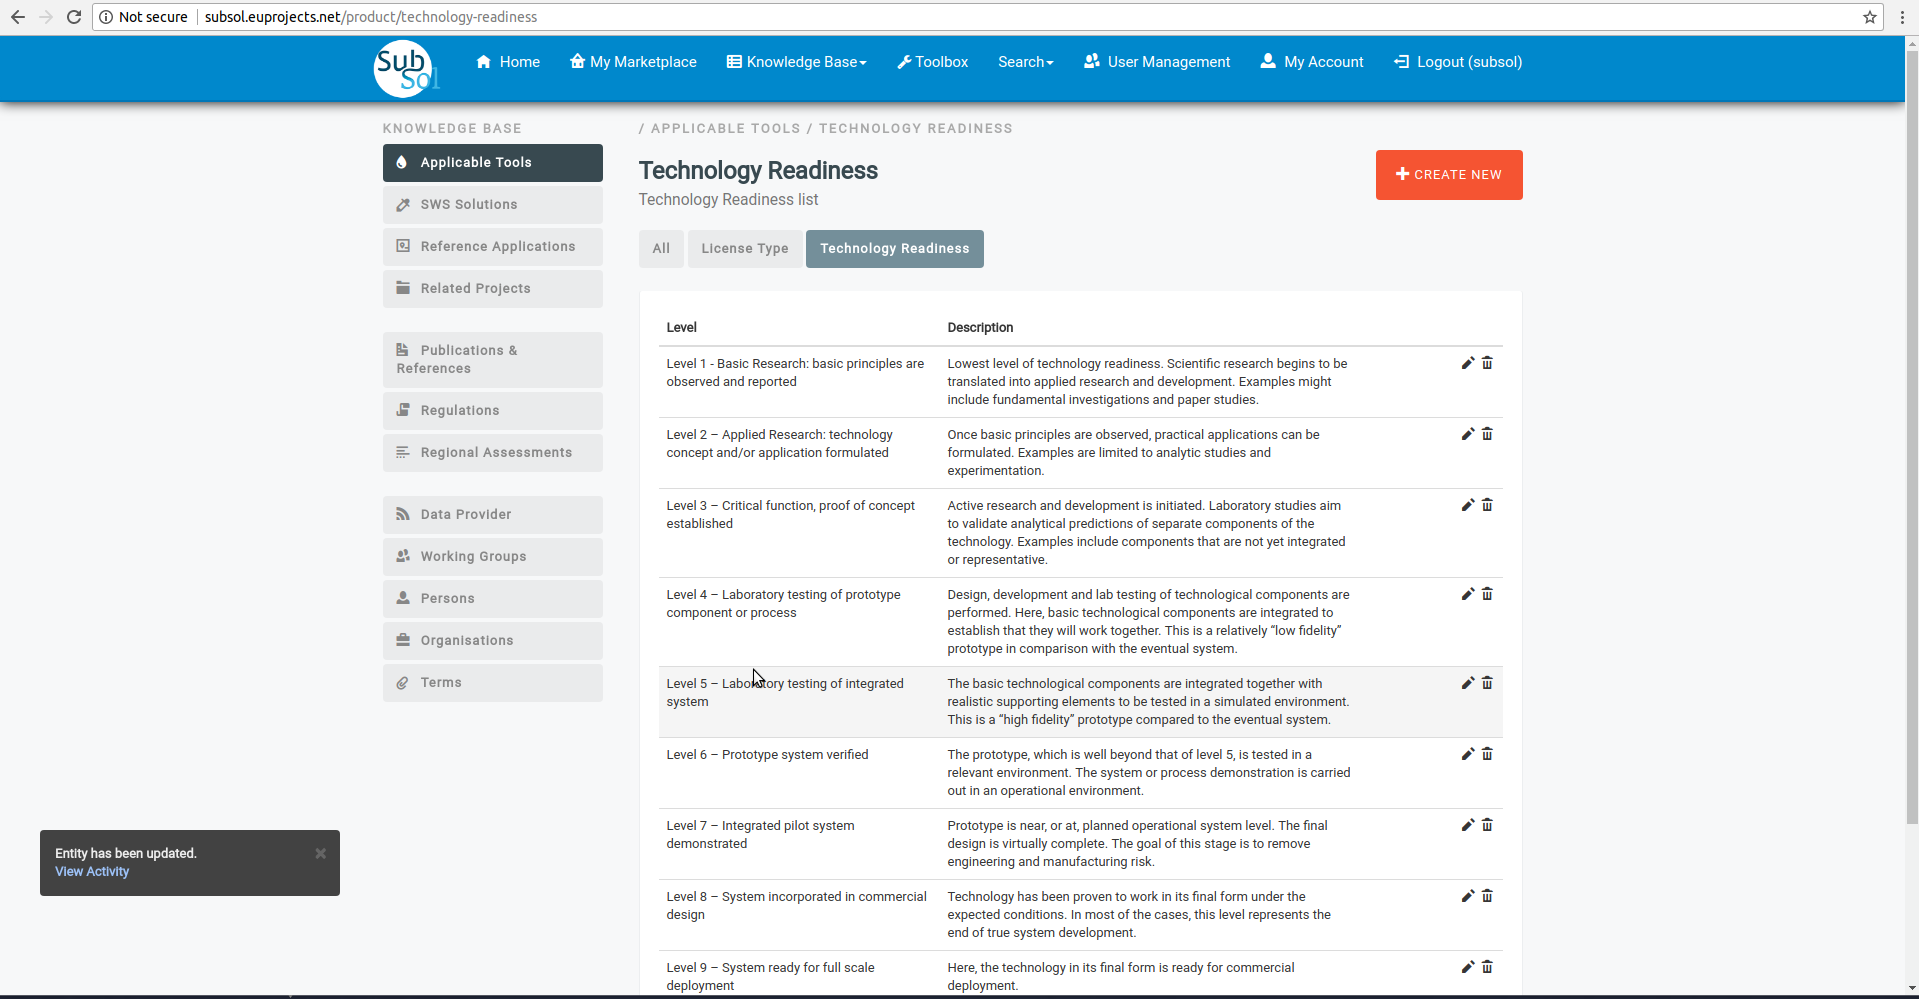
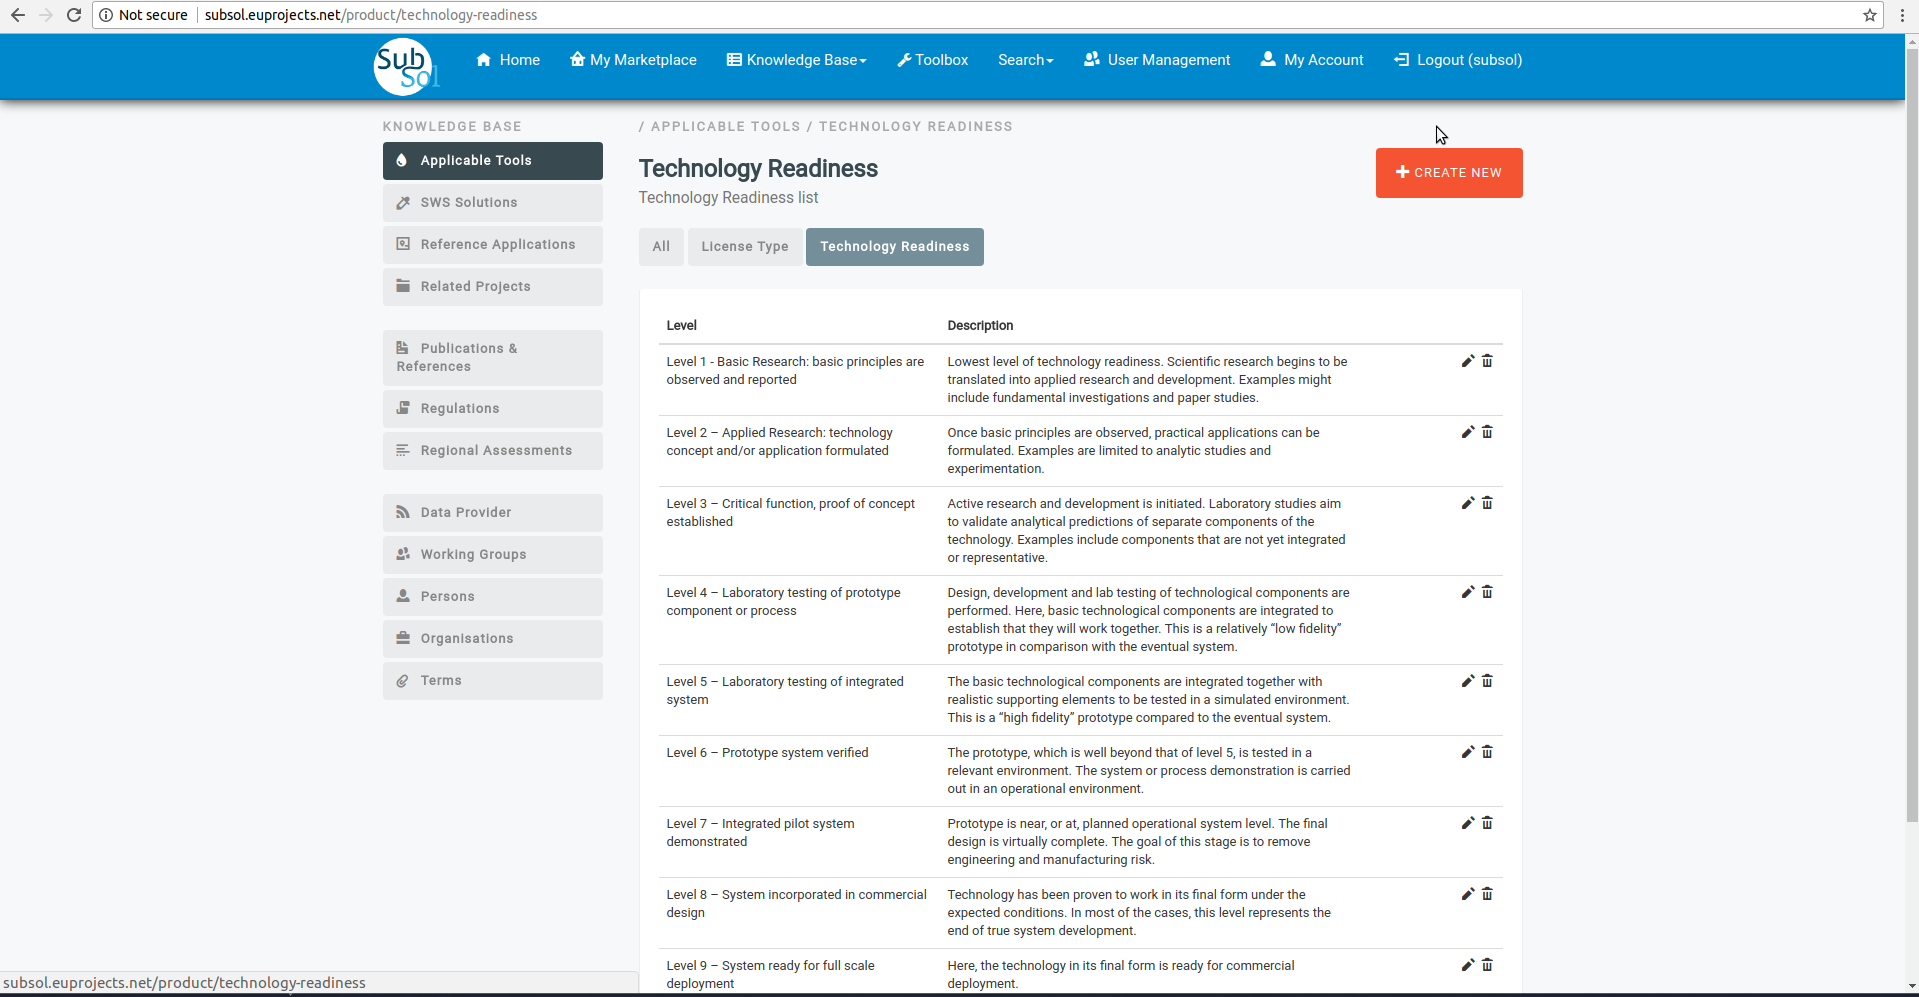
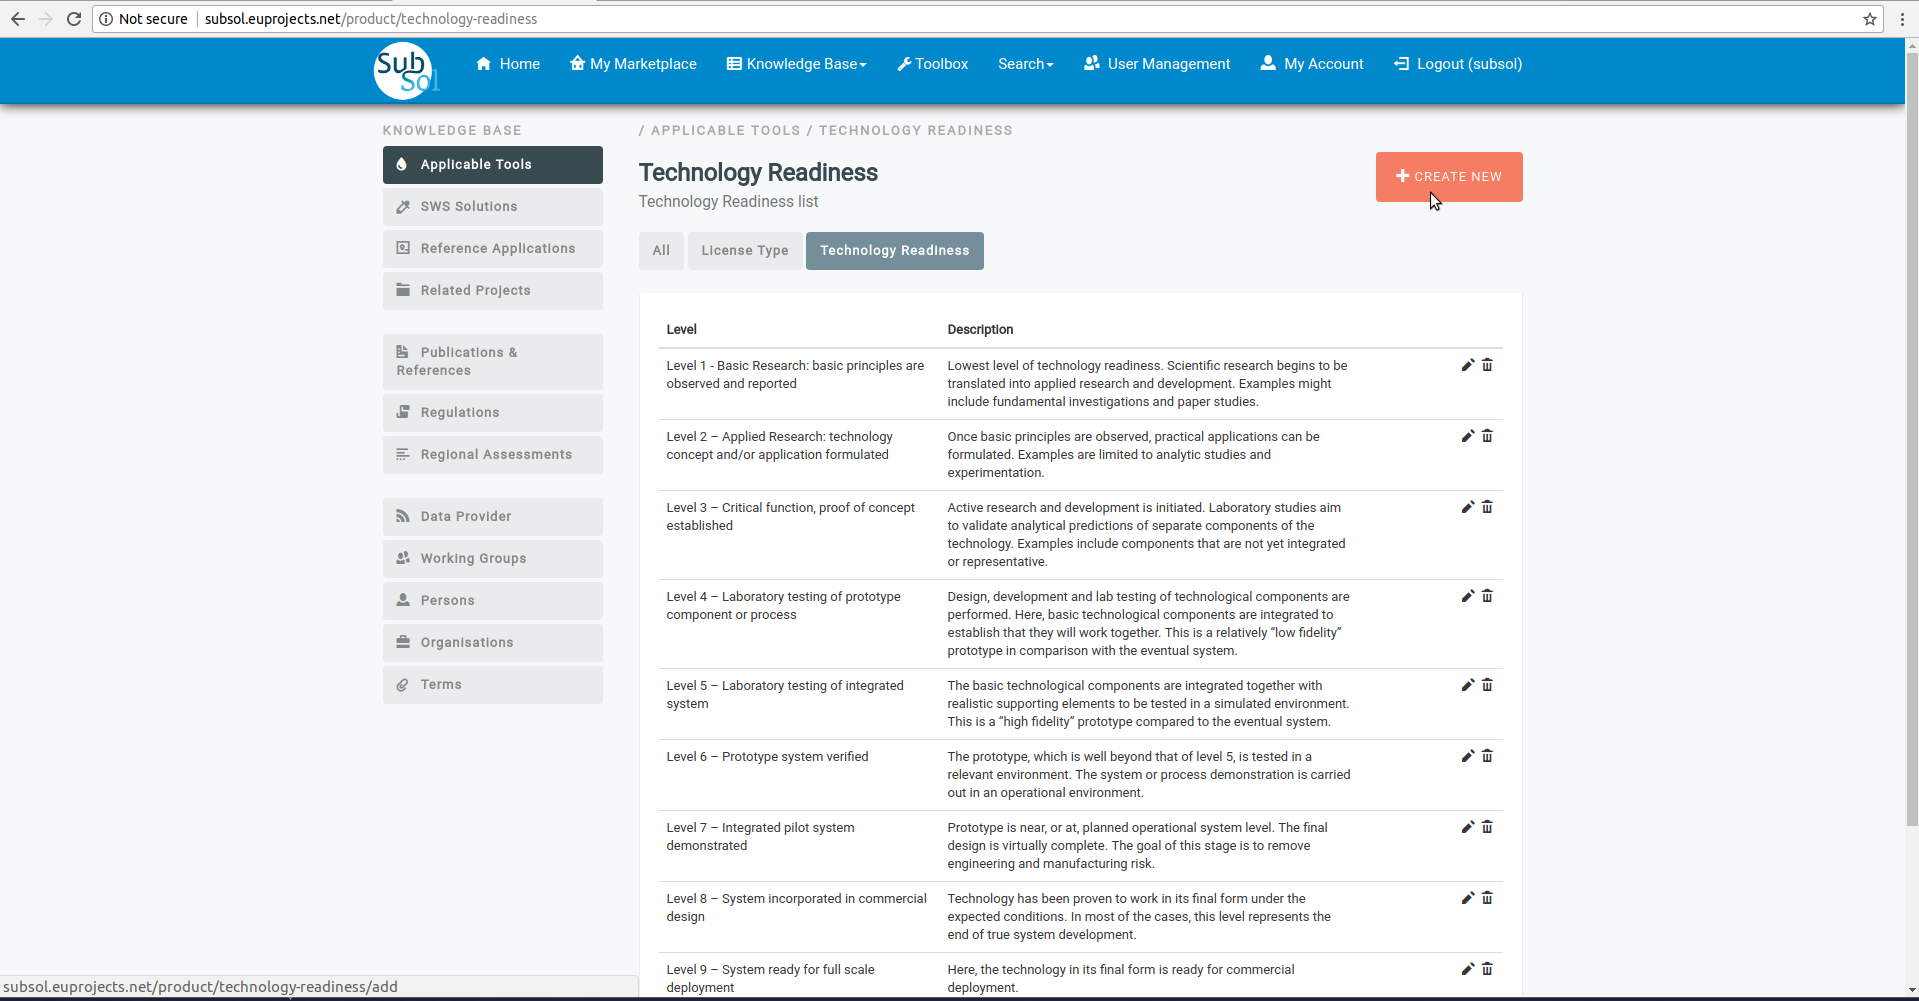
2.2 Technology Readiness
- Add Technology Readiness
- Click on “Technology Readiness” menu-item.
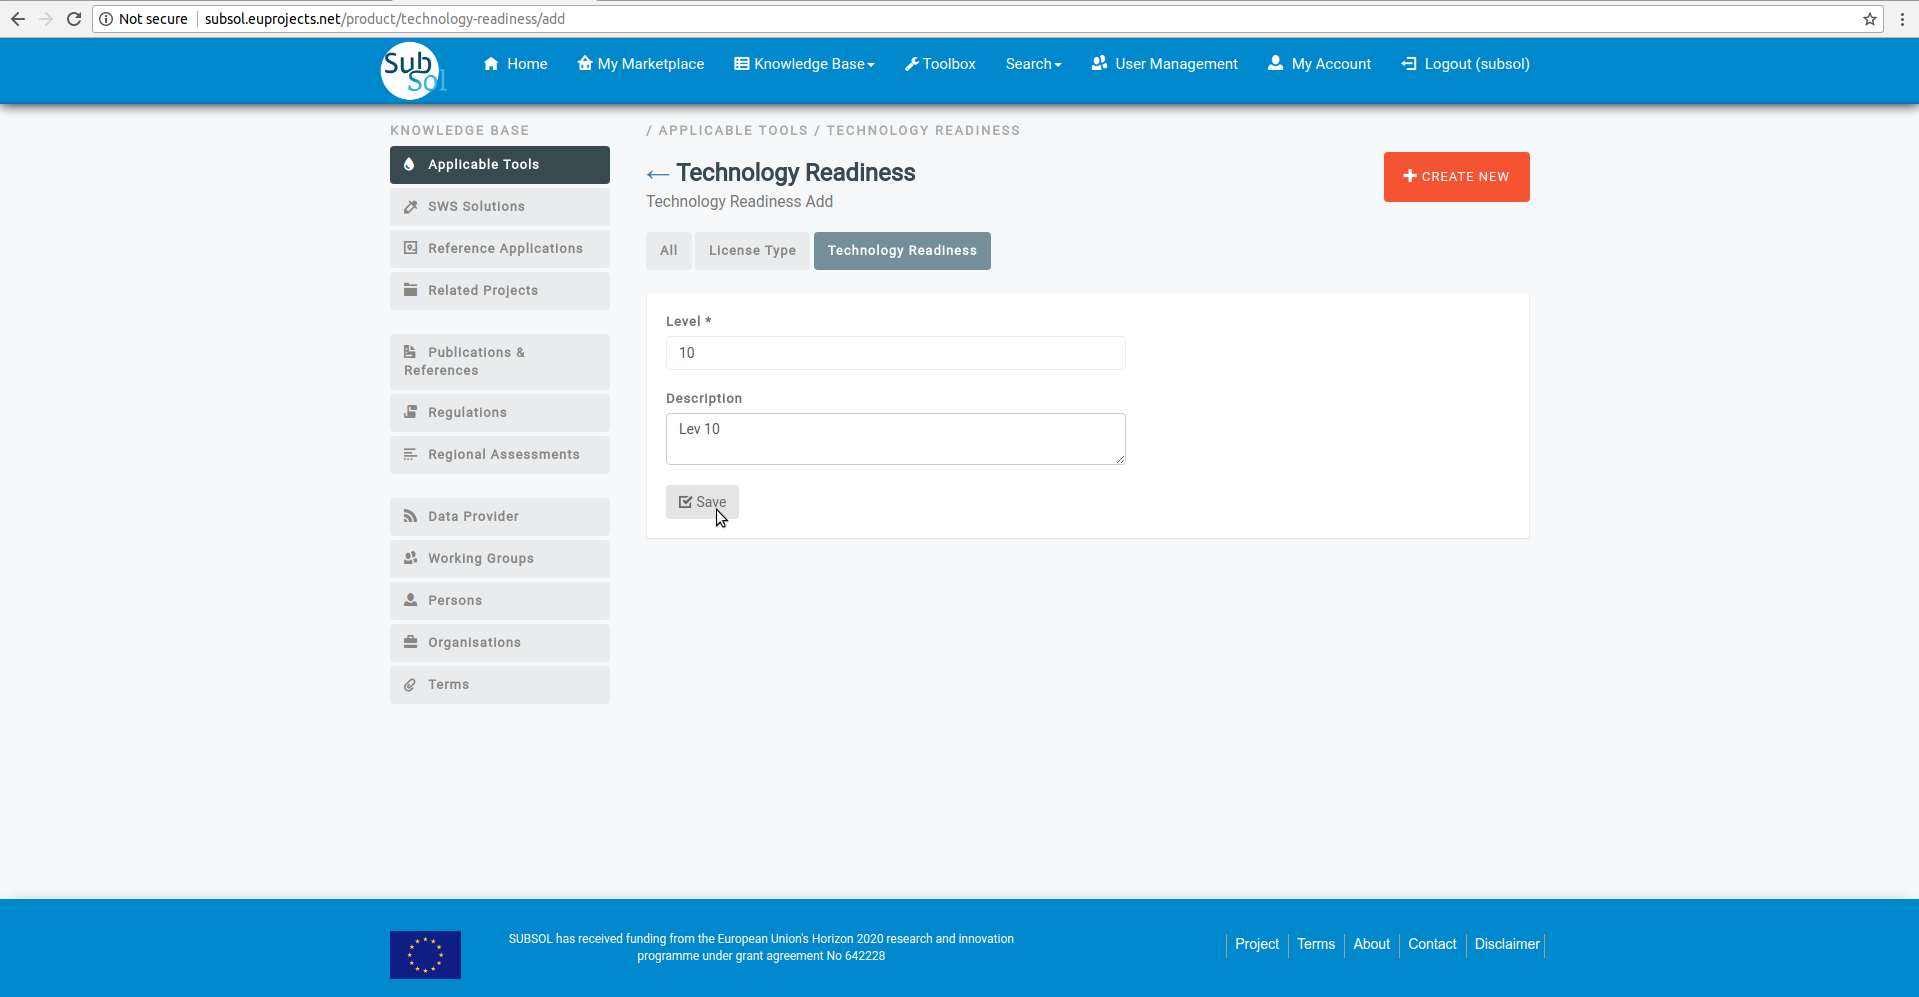
- Click on “Create New” button.
- Provide your credentials and click on “Save” button.
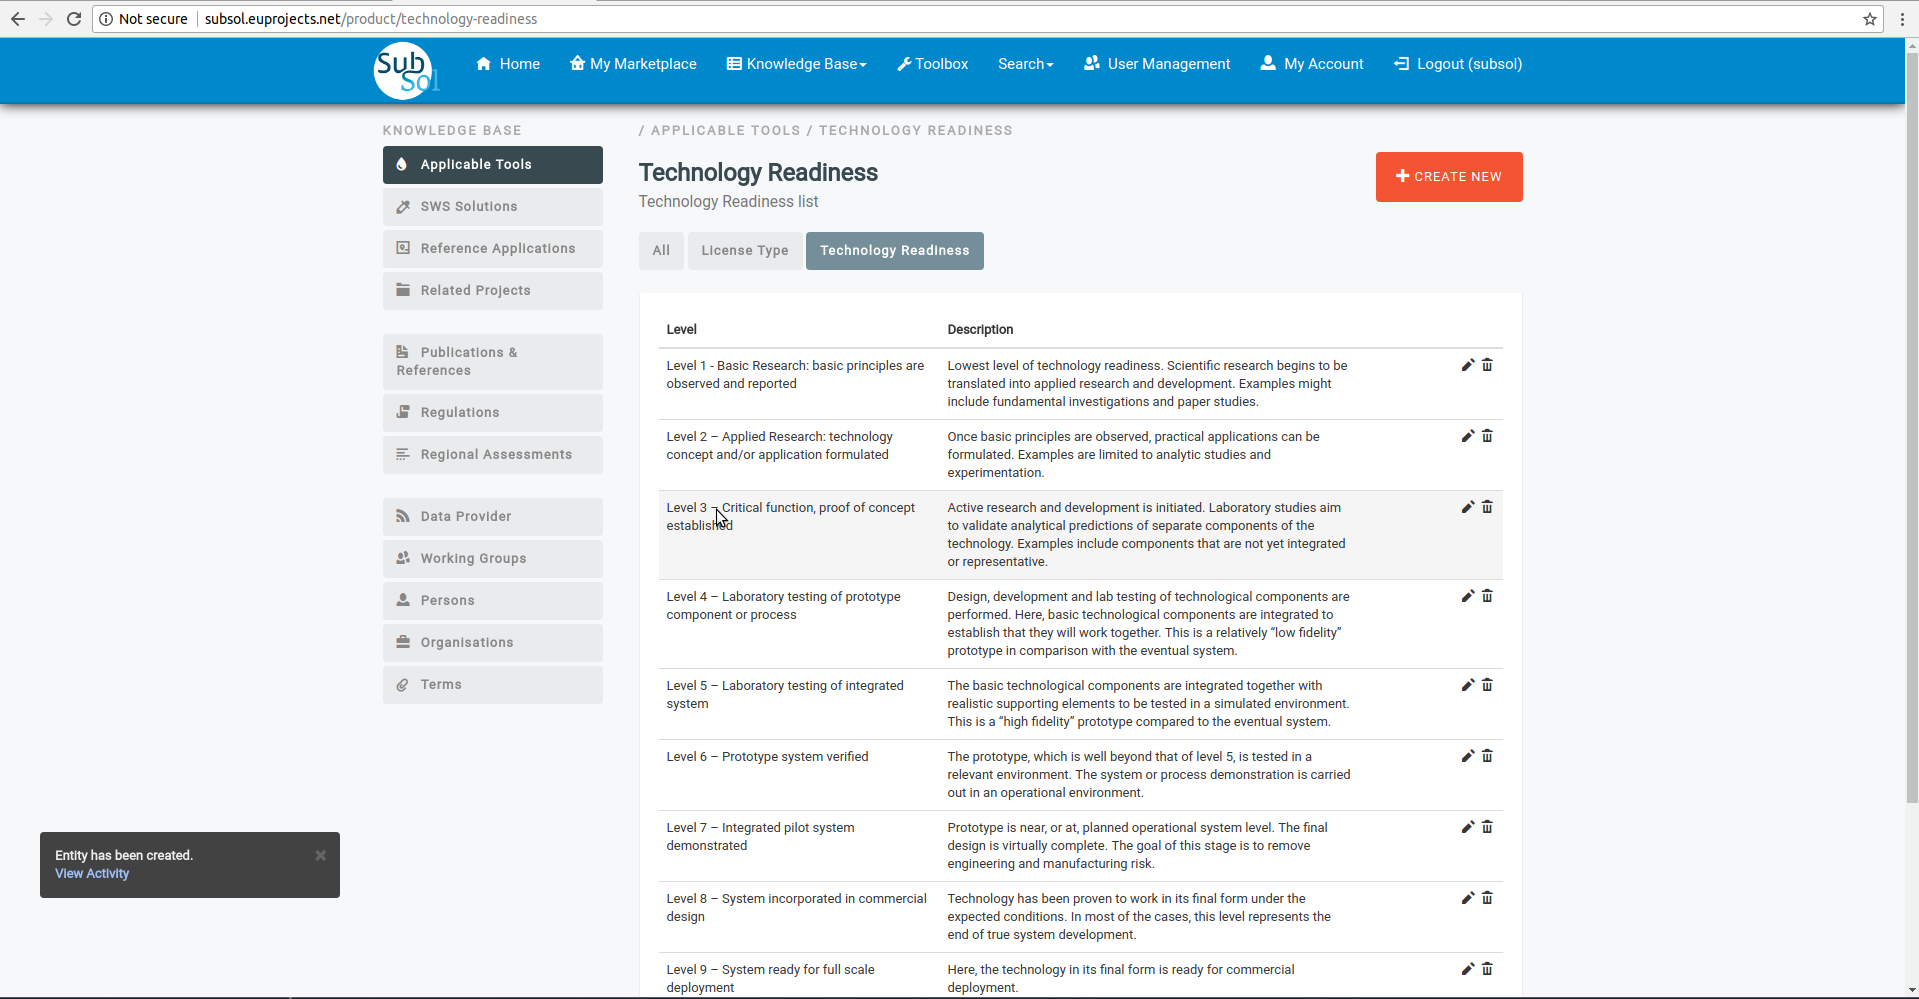
- A pop-up message confirms that you have successfully create a new Technology Readiness entry.
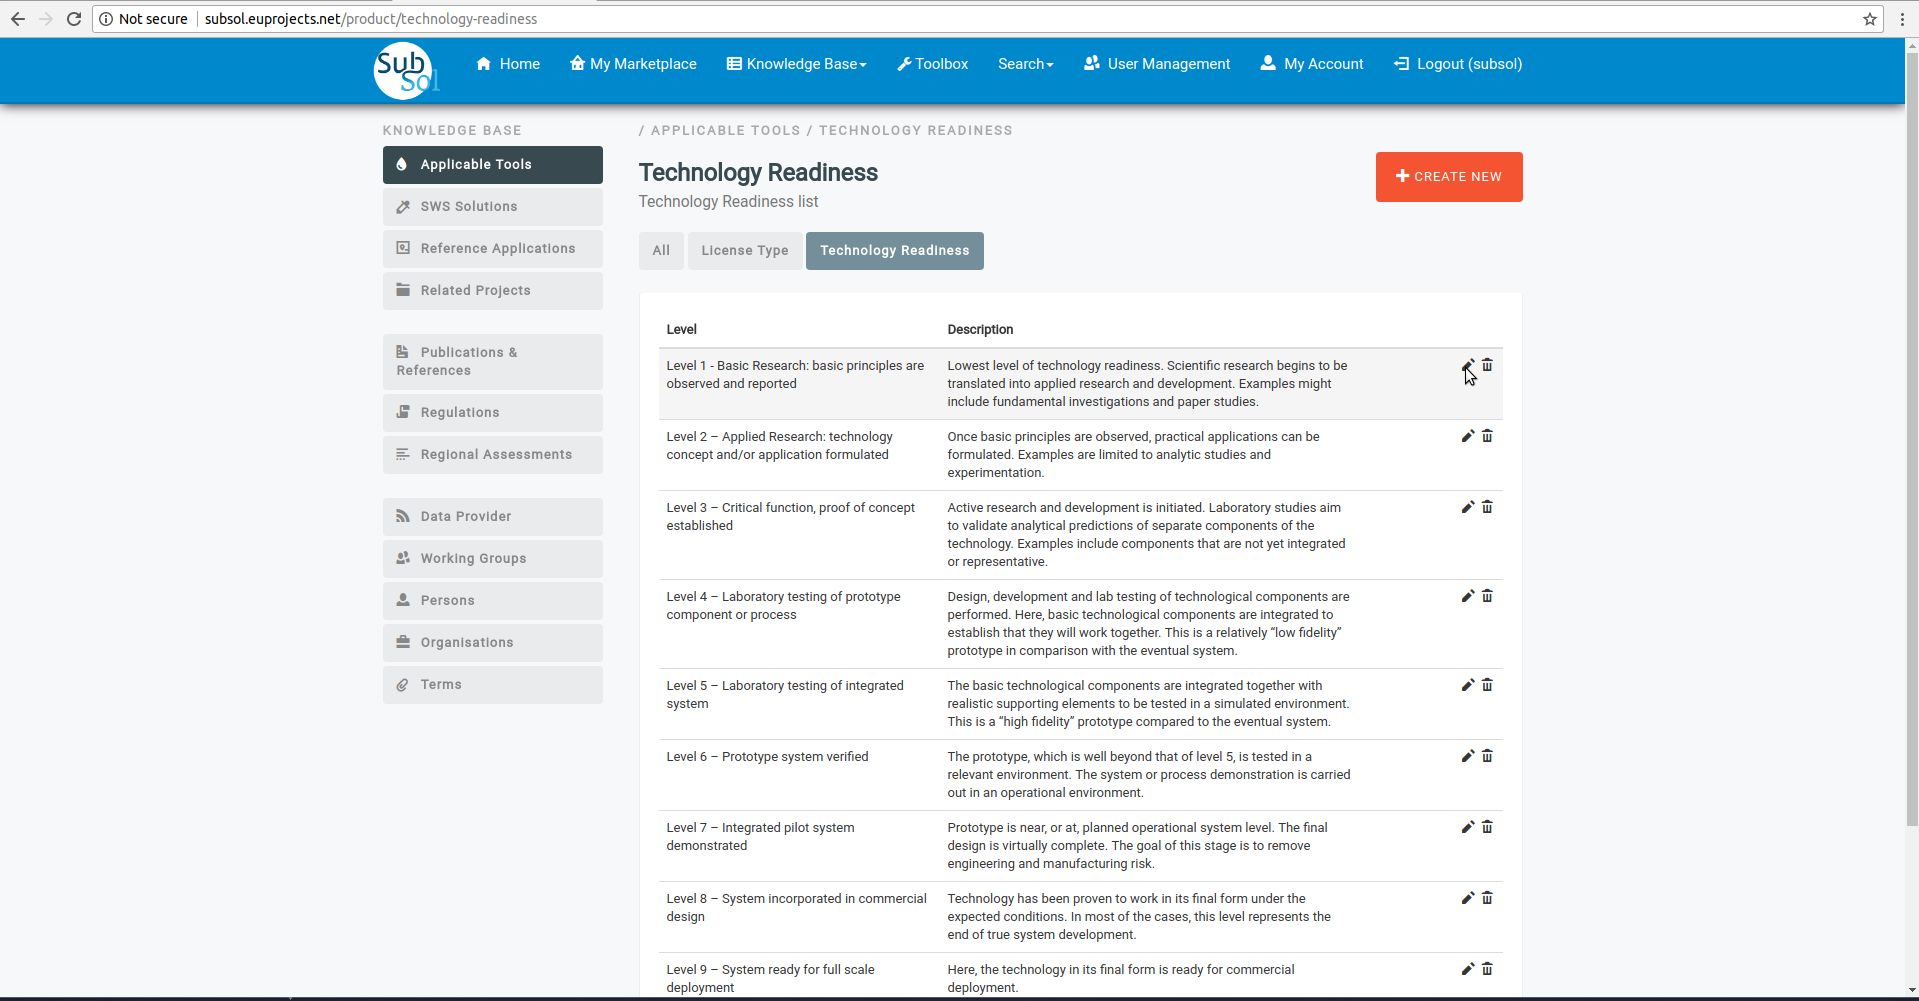
- Edit Technology Readiness
- Click on “Modify” pencil-item.
- Provide your changes and click on “Save” button.
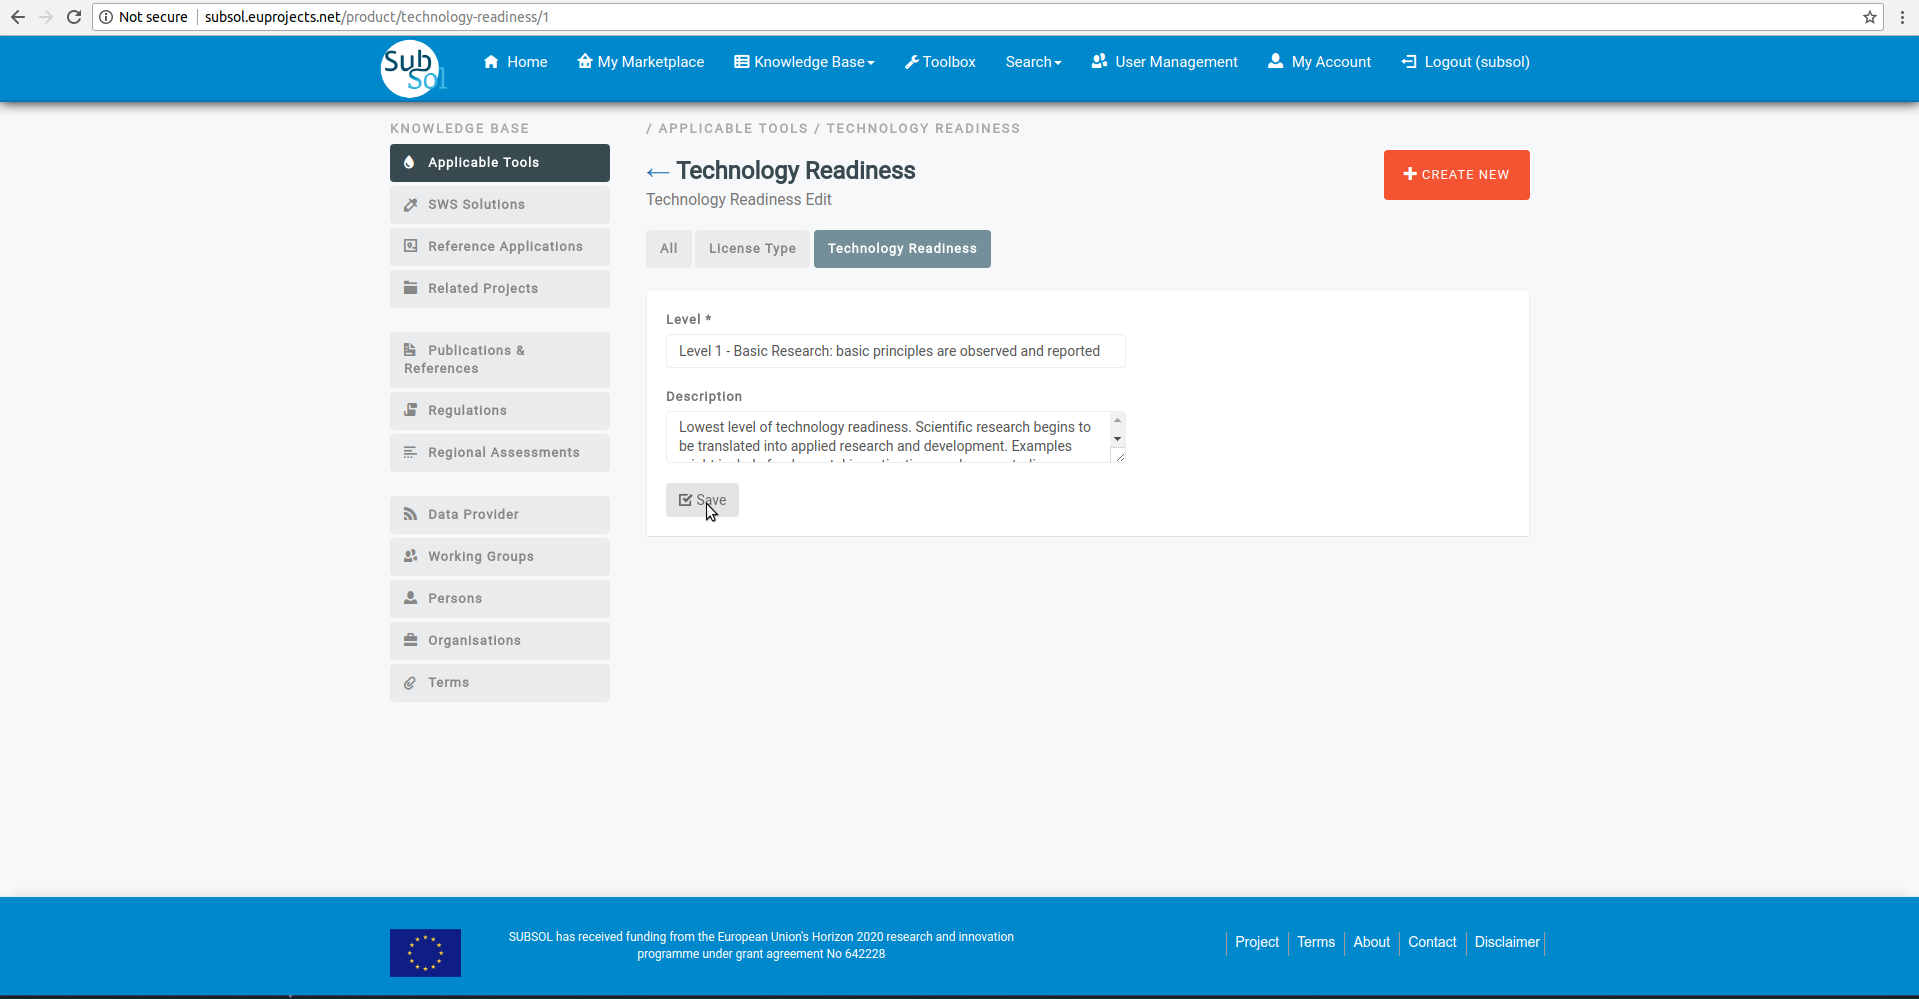
- A pop-up message confirms that you have successfully update your Technology Readiness entry. .